
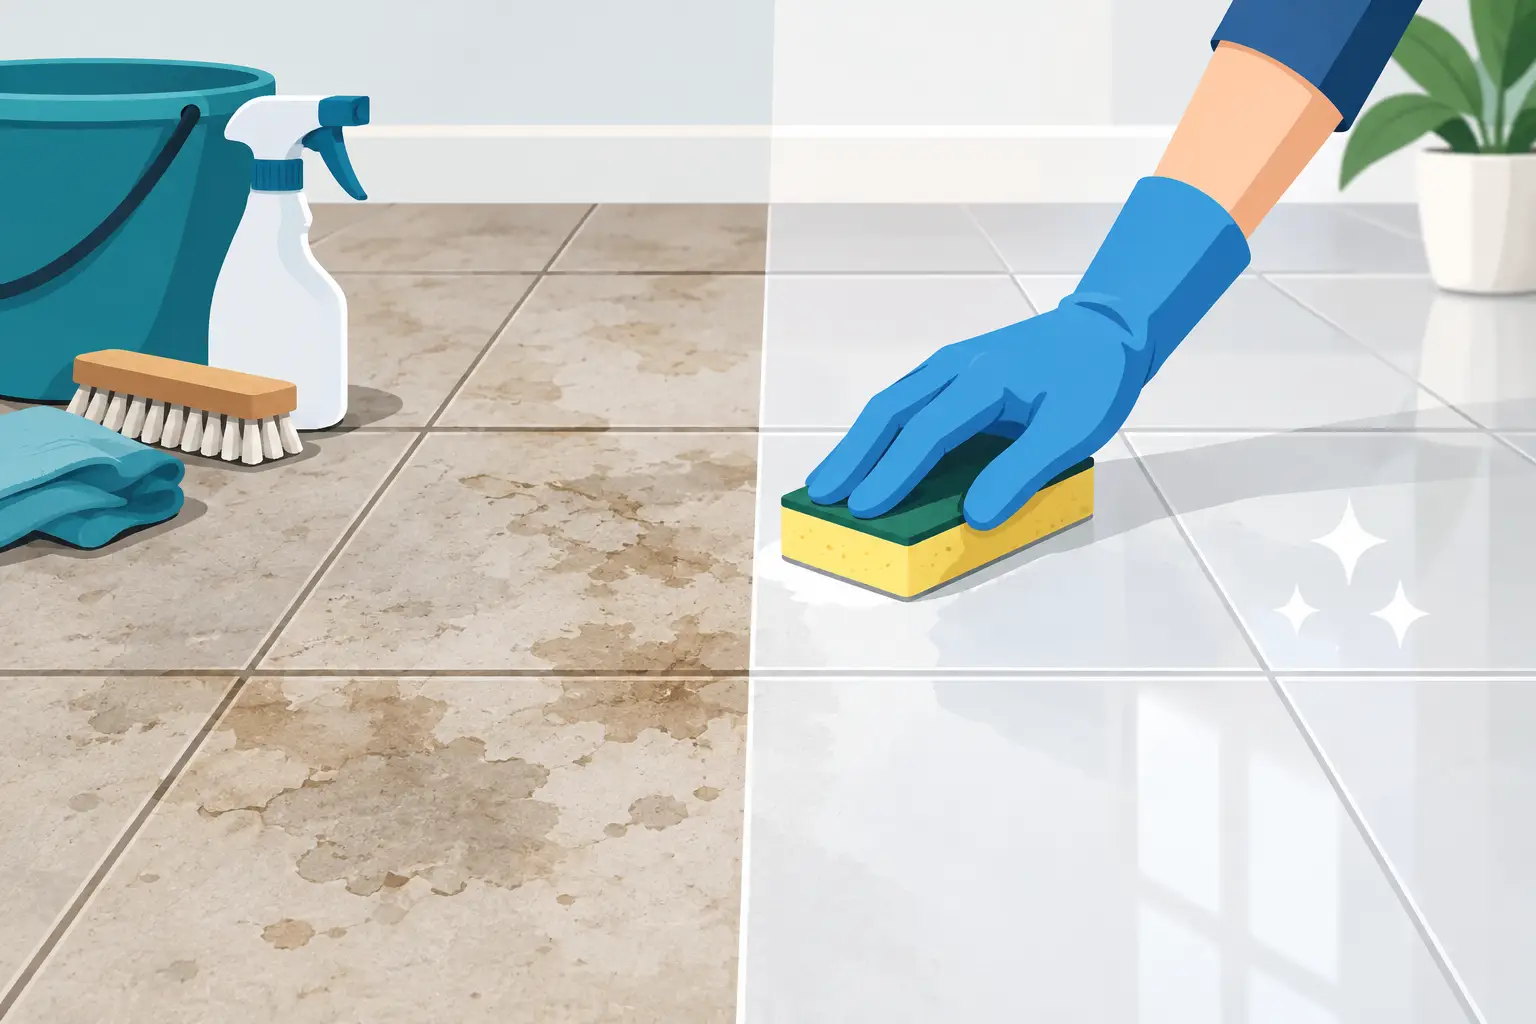
A tile floor or shower can look permanently dirty even after you scrub it. Florida humidity, hard-water minerals, soap residue, mildew, and years of use can leave tile dull, blotchy, or discolored. The good news is that learning how to restore stained tile starts with identifying what caused the stain. Not every stain needs replacement. But not every stain can be cleaned away either.
The right fix depends on whether the problem is on the surface, inside the grout, or beneath a worn tile finish. Start with the least aggressive option. If the tile is old, damaged, or stained beyond cleaning, professional refinishing can give the whole bathroom a clean, updated look without demolition.
First, Find Out What Is Staining the Tile
Tile is tough, but it is not all the same. Glazed ceramic and porcelain tile have a protective surface that resists most stains. Natural stone, unglazed tile, and damaged finishes can absorb moisture and discolor more easily. Grout is porous too, which is why it often looks worse than the tile around it.
Hard-water stains usually appear as white, cloudy, or chalky buildup around showers, faucets, and tub surrounds. Soap scum can leave a gray or yellow film that makes clean tile look hazy. Mildew and mold often show up as black, green, or dark brown spots in grout lines and corners.
Rust stains are reddish orange and may come from metal shelving, cans, or old plumbing. Yellow or brown stains can come from minerals, aging caulk, water intrusion, or a worn coating. If discoloration appears to be coming from behind the tile, cleaning alone will not solve it.
Before using any cleaner, test it in a small, hidden spot. A strong product may remove a stain but also dull a finish, weaken grout, or damage nearby fixtures.
How to Restore Stained Tile With Safe Cleaning
Start simple. Many bathroom stains are layers of soap, body oils, minerals, and cleaning-product residue. Removing that buildup can make a major difference.
Use a nonabrasive bathroom cleaner and a soft nylon brush or non-scratch scrub pad. Let the cleaner sit for a few minutes, then work in small sections. Rinse thoroughly and dry the surface with a clean towel. Drying matters because leftover cleaner and water minerals can leave a fresh haze.
For hard-water deposits, use a cleaner made for mineral buildup that is safe for your tile type. Mild acidic cleaners can work on glazed ceramic or porcelain, but they are not a good choice for natural stone. Never use acidic cleaners on marble, travertine, limestone, or other calcium-based stone. They can etch the surface and leave permanent dull marks.
For mildew on tile and grout, use a bathroom mildew cleaner or a properly diluted disinfecting solution approved for the material. Ventilate the room. Wear gloves. Do not mix bleach with ammonia, vinegar, or any other cleaning product. That can create dangerous fumes.
Skip steel wool, harsh scouring powder, and aggressive wire brushes. They can scratch glazed tile and strip protective coatings. A scratched surface holds more grime, which makes the bathroom harder to keep clean later.
Treat Grout Separately From Tile
Clean tile can still look worn out when the grout is dark, stained, or cracked. Grout needs its own approach because it absorbs moisture and stains more easily than tile.
Apply a grout cleaner, allow it to work as directed, then scrub with a stiff nylon grout brush. Rinse well. If the grout improves but still looks uneven, a grout colorant can create a more consistent appearance. It can also help seal porous grout against future staining.
Deep cracks, missing grout, or soft areas are different problems. Those can let water behind the tile. Clean grout will not stop a leak. If you see recurring mildew, loose tile, staining that returns quickly, or damaged areas around a shower pan or tub edge, have the area inspected before spending time on cosmetic fixes.
Caulk deserves attention too. Old caulk can turn yellow, black, or brittle. It is not grout, and it should not be treated the same way. Remove failing caulk, clean and dry the joint completely, then apply fresh bathroom-grade caulk. This small repair can make a shower surround look much cleaner.
When Tile Stains Will Not Come Out
Some stains are no longer sitting on top of the tile. They may be absorbed into porous material, trapped under an old coating, or caused by finish failure. In those cases, more scrubbing usually means more frustration.
Watch for signs that cleaning has reached its limit:
- The discoloration remains after several careful cleanings.
- The tile looks dull or worn even when it is dry.
- Stains show through damaged glaze or an old painted surface.
- The color is uneven across a large wall, shower, or tub surround.
- Chips, cracks, rust marks, or previous repair spots make the surface look patched together.
Replacement is one option, but it often creates a bigger job than homeowners expect. Tile removal can damage drywall, backer board, plumbing access, and adjacent fixtures. It also brings dust, demolition, material costs, and a longer bathroom shutdown.
If the tile is stable and the underlying area is sound, refinishing is often the better value. A professional can repair minor surface damage, prep the tile correctly, and apply a durable new coating designed for bathroom use. The result is a clean, uniform finish without tearing out the entire surround.
Professional Tile Refinishing vs. DIY Paint
DIY tile paint may seem like a quick answer, especially when stains cover a large area. The trade-off is durability. Tile needs extensive cleaning, sanding or bonding preparation, masking, and the right coating system. If the prep is rushed, the finish can peel, chip, or discolor early.
Bathroom surfaces are especially demanding. They deal with hot water, steam, daily cleaning, and constant moisture. A coating that looks good for a few weeks may fail quickly if it was not applied to a properly prepared surface.
Professional refinishing costs more than a box-store paint kit, but it can prevent the expense of redoing the work. It also gives you the chance to update an outdated color. A dated almond, pink, blue, or heavily stained tile surround can often be refinished in a cleaner, more current color without replacing the whole bathroom.
At The Tub Guy, surface restoration is built around that practical choice: restore what is structurally sound, avoid unnecessary demolition, and stand behind the finished work. For homeowners dealing with worn bathroom tile, that can mean a major visual change at a fraction of a full remodel.
Keep Restored Tile Looking Clean
Once the staining is gone or the tile has been refinished, maintenance is straightforward. Use a nonabrasive bathroom cleaner. Rinse away cleaner residue. Dry the shower walls or tile surround when possible, especially in areas with hard water.
Run the bathroom fan during showers and for a while afterward. Good airflow reduces moisture that feeds mildew. Fix dripping faucets and plumbing leaks promptly. A slow leak can cause repeat staining and damage that no cleaner can correct.
Avoid suction-cup accessories on refinished surfaces unless your restoration professional says they are safe. Do not use abrasive pads, harsh powders, or strong solvents. These products can shorten the life of a new finish and leave permanent marks.
A stained tile bathroom does not automatically need a full renovation. Clean it carefully, repair the areas that are failing, and know when the surface needs more than elbow grease. The right restoration can make the room look brighter, cleaner, and worth using again without turning your home into a construction zone.