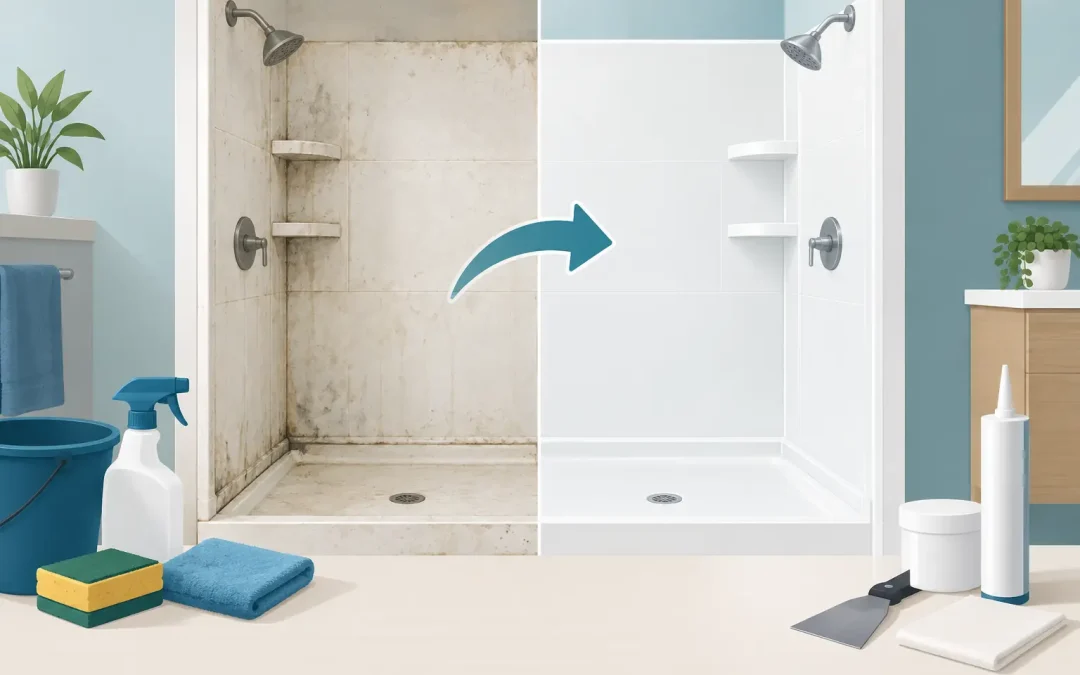
A shower can be perfectly functional and still make the whole bathroom feel worn out. Stained grout, dull tile, cracked fiberglass, and peeling old coatings are common problems in Florida homes. Knowing how to restore shower walls helps you decide whether a deep clean, a repair, or professional refinishing is the right answer.
Full replacement is not always necessary. In many cases, shower walls can be repaired and refinished for far less than demolition, new materials, and installation. The key is being honest about the surface condition before choosing a fix.
Start by Identifying What Your Shower Walls Are Made Of
The right restoration method depends on the material. Most shower walls are ceramic or porcelain tile, fiberglass, acrylic, cultured marble, or a one-piece molded surround. Each one ages differently.
Tile showers often collect soap scum, mineral deposits, mildew, and grout stains. Older tile may also have chips, cracked grout, or dated colors that make the room look older than it is.
Fiberglass and acrylic surrounds can turn yellow, develop a chalky finish, or crack around corners and fixtures. Cultured marble may lose its shine, show scratches, or develop stubborn staining. A one-piece shower unit can look rough after years of hard water and harsh cleaners, even when the structure is still solid.
Before you plan any cosmetic work, check for loose walls, soft areas, water damage, or active leaks. Restoration improves the finished surface. It does not solve damaged framing, failed plumbing, or a leaking shower pan.
Clean the Surface Before You Judge It
Many shower walls look worse than they really are. Soap residue and Florida hard-water minerals can leave a cloudy film that hides the original finish.
Use a non-abrasive bathroom cleaner first. Let it sit as directed, then wipe the walls with a soft sponge or microfiber cloth. Avoid steel wool, aggressive scouring pads, and harsh powders. Those products can scratch fiberglass, dull acrylic, and wear through older coatings.
For mildew in grout lines or caulk, use a bathroom mildew cleaner that is safe for the specific material. Keep the room ventilated, wear gloves, and never mix cleaning chemicals.
After cleaning, inspect the shower in bright light. You may find that the walls simply need fresh caulk and grout repair. Or you may see permanent discoloration, etching, chips, and fading that cleaning cannot remove.
Repair Chips, Cracks, Grout, and Caulk
Small damage should be repaired before any refinishing work begins. A restored surface only looks as good as the prep work underneath it.
Hairline cracks in fiberglass or acrylic can often be repaired when caught early. Left alone, they can spread and allow water behind the wall. Chips in tile or cultured marble can also be filled and color-matched, depending on their size and location.
Grout deserves special attention. Cracked or missing grout allows moisture to work its way behind tile. Remove loose material, repair the joints, and allow the grout to cure fully. If the grout is stained but intact, professional cleaning or color sealing may improve its appearance.
Caulk is another common weak point. If it is blackened, cracked, peeling, or separating from the wall, it needs to come out. Old caulk should be removed completely, the joint should be cleaned and dried, and new mildew-resistant bathroom caulk should be applied.
Do not coat over failing caulk, loose grout, or an active crack. It may look better for a short time, but the problem will come back.
When a Deep Clean Is Enough
A thorough cleaning and minor repair may be all you need when the shower walls are in good physical shape and the finish is still intact. This is usually the best option when the issue is limited to surface buildup, mildew staining, or aging caulk.
Cleaning is also a practical first step before putting a home on the market or freshening up a rental property. It is lower cost, but it will not change the color of dated tile or fix permanent stains in an old fiberglass surround.
If the shower is avocado green, faded beige, heavily scratched, or permanently dull, cleaning may only highlight the age of the material. That is where refinishing becomes worth considering.
How to Restore Shower Walls With Refinishing
Professional shower wall refinishing restores the visible surface without tearing out the existing unit. It is commonly used on fiberglass, acrylic, cultured marble, ceramic tile, and some other bathroom surfaces.
The process is much more than applying paint. A quality job starts with cleaning, repair, sanding or surface preparation, masking, and the application of professional-grade coating materials. The walls must be dry, stable, and properly prepped for the new finish to bond.
A refinished shower can cover dullness, stains, minor surface damage, and outdated color. White remains a popular choice because it makes a bathroom look cleaner and brighter, but color changes may also be possible depending on the surface and condition.
The biggest advantage is avoiding demolition. No hauling out an old surround. No opening walls. No replacing tile, drywall, or plumbing fixtures just because the shower looks worn. For many homeowners, that means less mess, less downtime, and a much lower project cost.
A professional refinishing contractor can also tell you when refinishing is not the smart choice. If walls are loose, water is getting behind the surround, or major structural damage is present, replacement may be necessary.
Why DIY Shower Wall Coatings Can Be Risky
Do-it-yourself shower coating kits can seem like a quick fix. Some homeowners get acceptable short-term results, especially on a small, lightly used surface. But showers are one of the toughest places for any coating to hold up.
Heat, humidity, standing water, body wash, shampoo, and daily cleaning all put stress on the finish. Prep errors can lead to peeling, bubbling, rough texture, or poor adhesion around corners and fixtures.
DIY work also creates a safety issue. Many coating products have strong fumes and require proper ventilation, protective gear, and controlled application. A bathroom is a tight space, and overspray can damage floors, fixtures, doors, and nearby surfaces.
Professional restoration costs more than a kit, but it gives you better preparation, repair work, materials, and accountability. For a shower that gets daily use, that difference matters.
Make Restored Shower Walls Last
Once the shower walls are restored, simple maintenance protects the finish. The goal is to prevent buildup without wearing down the surface.
Use a non-abrasive liquid cleaner and a soft sponge or cloth. Rinse away soap residue after use when possible, and use a squeegee to reduce water spots on smooth walls. Good bathroom ventilation also helps control mildew and moisture.
Avoid abrasive powders, harsh scouring pads, and products that are not approved for refinished surfaces. Do not use suction-cup accessories on a refinished wall unless your restoration professional says they are safe. Suction cups can pull at the coating and create damage over time.
If you notice a chip, crack, or failing caulk line, address it early. Small repairs are easier and less expensive before water reaches the area behind the wall.
When to Call a Shower Restoration Professional
Call a professional when the shower walls are structurally sound but visibly worn, stained, chipped, outdated, or difficult to clean. It is also a smart move if you want a color change without a full bathroom renovation.
Ask how the surface will be prepared, what repairs are included, how long the finish needs to cure, and what warranty backs the work. A contractor should be clear about what refinishing can fix and what requires replacement.
For homeowners in Pinellas County and Saint Petersburg, The Tub Guy provides shower and bathroom surface refinishing with workmanship backed by a five-year warranty. That kind of coverage matters when you want a better-looking bathroom without taking on the cost and disruption of a full remodel.
A tired shower does not always need to be torn out. If the walls are solid and the problem is mostly cosmetic, a careful restoration can make the room feel clean, current, and worth enjoying again.