A shower pan can make the whole bathroom look tired. Yellowing, dull spots, chips, stubborn stains, and worn texture are hard to ignore, especially when the rest of the room is still in good shape. Learning how to resurface shower pan surfaces helps you understand whether refinishing is the right fix or whether the pan has damage that needs a different repair.
For many Florida homeowners, resurfacing is the practical middle ground. It can restore the appearance of a worn shower without demolition, new tile, plumbing work, or the mess of a full remodel. But the quality of the prep work matters more than the coating itself.
When Shower Pan Resurfacing Makes Sense
Resurfacing works best when the shower pan is structurally sound but looks worn out. Common candidates include fiberglass, acrylic, cultured marble, porcelain, and some older composite pans with surface-level damage.
A good refinishing job can address discoloration, light scratches, dullness, small chips, worn factory finish, and an outdated color. A white or almond pan that has turned yellow from age, mineral buildup, or cleaning products can often look clean and bright again after proper resurfacing.
The pan must still be solid underneath. If it flexes heavily when you stand on it, has a deep crack, leaks below the shower, or has water damage around the drain, coating over the problem will not solve it. Those issues need to be repaired first. In some cases, replacement is the better call.
How to Resurface a Shower Pan the Right Way
A durable finish comes from careful preparation. Skipping a step may save time on day one, but it often leads to peeling, rough texture, or early failure later.
Start With a Close Inspection
Check the shower pan in good light. Look for cracks, chips, soft spots, loose caulk, rust stains around metal fixtures, and separation at the drain or wall edges. Press gently around suspect areas. A solid pan should not feel spongy or unstable.
Also look for signs of an active leak. Staining on the ceiling below the bathroom, loose flooring near the shower, or persistent mildew around the base can point to water getting where it should not. Resurfacing should happen only after the source of the moisture is corrected.
Remove Soap Scum, Oils, and Mineral Deposits
Shower pans collect more than dirt. Body oils, soap residue, hair products, hard-water minerals, and silicone can all interfere with adhesion. This is one reason a pan may look clean but still fail when coated.
The surface needs a serious cleaning and degreasing process. Old caulk should be removed from the perimeter, along with any loose coating from a previous refinishing job. In Pinellas County and across the Saint Petersburg area, mineral buildup can be especially stubborn. It has to come off before the surface is prepared.
Repair Chips and Cracks Before Coating
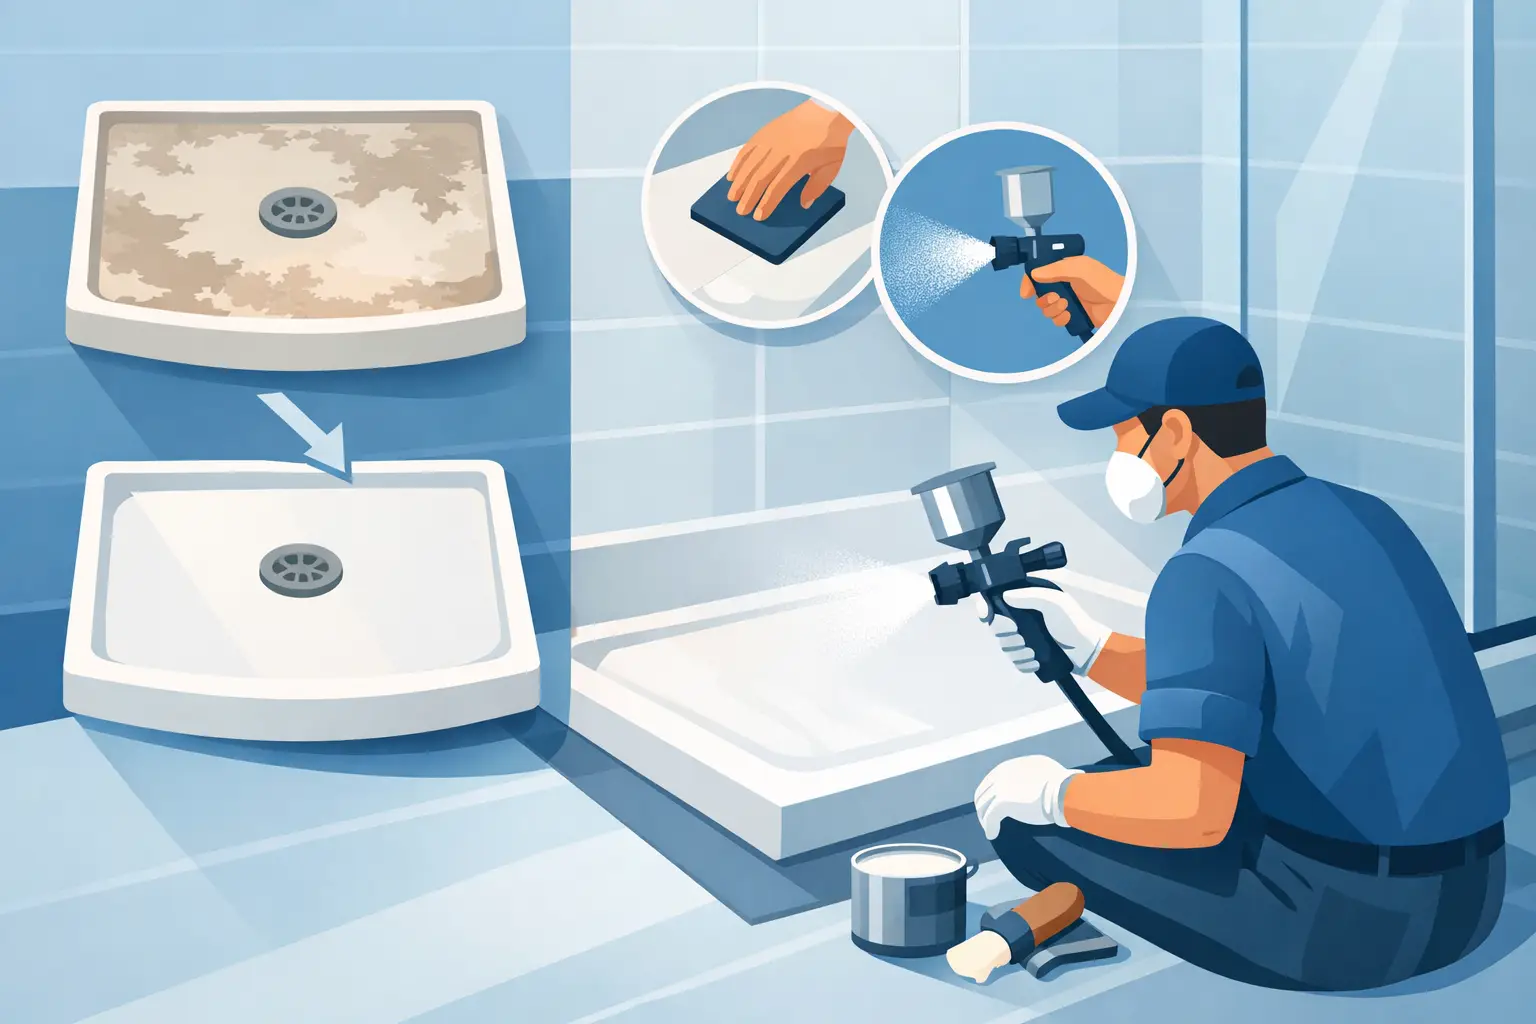
Small chips and shallow cracks can often be repaired with a compatible filler or repair material. The repair is shaped, leveled, and sanded so it blends into the surrounding pan. This step takes patience. A rushed patch may remain visible after the new finish is applied.
A crack caused by movement is different from a surface chip. If the pan is shifting or flexing, the underlying support may need attention. A finish can make a repaired area look better, but it cannot stop a weak pan from moving.
Create the Right Surface Profile
A new coating needs a surface it can grip. Depending on the pan material and existing finish, this may involve sanding, mechanical abrasion, or a professional bonding process. The goal is not to grind the pan down. It is to remove gloss and create an even profile for adhesion.
This is where DIY kits often fall short. Many homeowners do a quick scuff sand, wipe the pan down, and apply a coating. The surface may look good at first, but poor prep can lead to peeling around the drain, corners, and standing-water areas.
Mask, Ventilate, and Apply a Professional Coating
Resurfacing coatings are not ordinary wall paint. They are specialty products designed for wet environments and require controlled application. The bathroom needs proper masking to protect walls, doors, fixtures, and flooring. Ventilation matters, too, both for safety and for a cleaner finish.
A professional applies the coating in even passes to build a smooth, consistent surface. The pan must be coated carefully around the drain, threshold, corners, and wall connection points. Those are the areas that see the most water and wear.
Color change is possible in many cases. White remains the most popular choice because it brightens the room and works with nearly any bathroom style. Still, the condition of the pan should guide the decision. A quality coating is more valuable than a dramatic color change that does not fit the rest of the space.
Let the Finish Cure Fully
Curing is not optional. A shower pan may feel dry before it is ready for daily use. Using it too soon can leave marks, weaken the coating, or reduce its long-term durability.
Follow the refinisher’s instructions exactly. Keep the surface dry, do not place bath mats or bottles on it early, and avoid cleaning until the recommended cure time has passed. A little patience at this stage protects the work that was just completed.
DIY Kit or Professional Resurfacing?
A DIY kit can be tempting because the upfront cost is low. For a lightly worn pan in a guest bathroom, it may be worth considering if you are comfortable with surface prep, repairs, fumes, masking, and detailed coating work.
The trade-off is durability and finish quality. Most homeowner kits do not have the same coating systems, equipment, or prep process used by a refinishing specialist. Brush marks, uneven sheen, peeling, dust in the finish, and weak adhesion are common complaints after DIY attempts.
Professional resurfacing costs more than a kit, but far less than a full shower replacement in many cases. It also avoids tearing out walls, replacing tile, disturbing plumbing, and living through a drawn-out renovation. For a primary bathroom, rental property, or home you plan to sell, professional work is usually the safer value.
The Tub Guy focuses on the details that determine whether a refinished surface lasts: proper cleaning, repair, preparation, controlled application, and clear aftercare. A five-year warranty also gives homeowners a level of accountability that a box-store kit cannot offer.
How to Keep a Resurfaced Shower Pan Looking Good
Once the pan has fully cured, simple habits will protect the finish. Use a nonabrasive liquid cleaner and a soft sponge or cloth. Rinse away soap residue and do not let bottles, metal cans, or bath accessories sit in standing water for long periods.
Avoid harsh powders, abrasive scrub pads, pumice stones, bleach-heavy products, and strong drain chemicals that can sit on the surface. These products can dull or damage a refinished coating over time. If you need to clear a drain, use the gentlest method that works and rinse the pan well afterward.
Keep the caulk around the shower pan in good shape. Caulk is not just cosmetic. It helps keep water from working behind the pan and into the walls or floor. If it starts pulling away, cracking, or turning black with mildew, have it addressed before moisture creates a larger repair.
A shower mat can help with traction, but avoid mats with aggressive suction cups unless your refinisher says they are safe for the new surface. Some can trap moisture or pull on the finish. A non-slip treatment may be a better option for households that need extra footing.
Signs Resurfacing Is Not Enough
There are times when a shower pan should not be coated. Replacement or more involved repair may be necessary if you have a leaking drain assembly, major cracks, extensive movement, water damage beneath the shower, or mold caused by an ongoing moisture problem.
The same goes for pans that have failed repeatedly after previous coatings. Sometimes the old finish can be removed and the pan refinished correctly. Other times, the material underneath has deteriorated too far for a reliable result.
A straightforward inspection can save money here. The goal is not to coat every shower pan. The goal is to choose the repair that gives you a clean, dependable shower without paying for demolition you do not need.
If your shower pan is solid but stained, chipped, or simply dated, resurfacing can give the bathroom a major lift in a short time. Get the condition checked before you commit to replacement. The right repair can leave you with a shower that looks fresh, works well, and stays that way with basic care.