
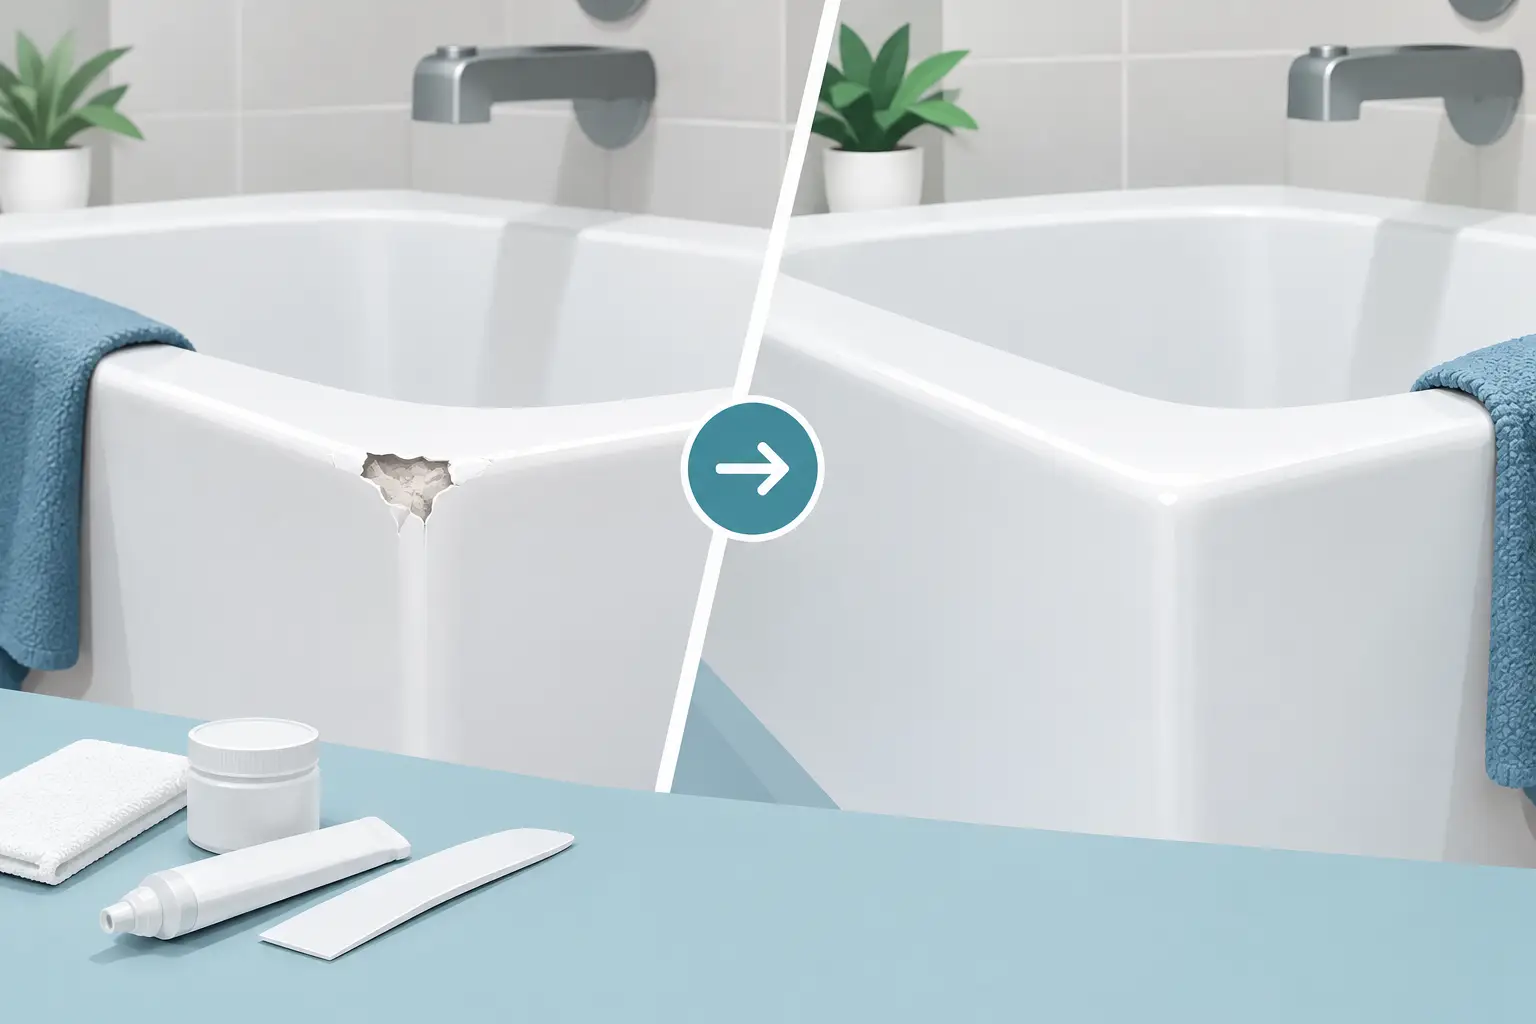
A small chip can make the whole tub look worn out. It catches your eye every time you shower, collects grime, and can expose the material underneath to moisture. The good news is that bathtub chip repair before after results can be dramatic when the repair is done the right way.
A quality repair does more than put white filler over a damaged spot. It rebuilds the missing surface, matches the color, smooths the area, and seals it so the damage does not keep spreading. For many Florida homeowners, that means a better-looking bathroom without the cost, dust, and disruption of replacing a tub.
Bathtub Chip Repair Before After: What Actually Changes
Before repair, a chipped bathtub often has sharp or rough edges around the damaged area. The chip may look gray, dark, rusty, or yellowed depending on the tub material and how long it has been exposed. Even a small spot can stand out against a white tub.
After a professional repair, the goal is a smooth surface that blends with the surrounding finish. The chip should no longer feel rough to the touch or draw attention from across the room. On a well-maintained tub, most repaired chips are difficult to spot unless you know exactly where to look.
That difference matters for more than appearance. A chip can let water work its way beneath the finished surface. On some tubs, especially older steel or cast-iron units, exposed metal may rust. On fiberglass or acrylic tubs, an untreated impact crack can grow over time. Repairing the damage early is usually simpler and less expensive than waiting until the problem gets worse.
What a Professional Chip Repair Includes
The best before-and-after results come from preparation. A technician cannot get a lasting repair by rushing straight to paint or filler.
First, the damaged area is cleaned and dried. Soap film, body oils, hard-water deposits, and loose material need to come off. Next, the edges of the chip are stabilized. Any weak, lifted, or crumbling material is removed so the repair has a solid base.
A durable repair compound is then applied to rebuild the missing area. This material is shaped to match the curve of the tub, then sanded smooth once cured. That shaping work is where experience shows. A tub has curves, slopes, and changing light across its surface. A patch that looks fine from one angle can look raised or uneven from another.
The repaired spot is color matched and top coated to blend with the existing finish. White is not always just white. Older tubs may have a warmer tone, while newer fixtures may be brighter or cooler. A close match helps the repair disappear into the tub instead of looking like a painted dot.
Finally, the surface needs proper curing time. The exact timeline depends on the repair materials, humidity, and the condition of the tub. In Florida, moisture in the air can affect how coatings cure, which is one reason careful preparation and professional materials matter.
When a Chip Repair Is the Right Fix
A localized chip repair is often a smart choice when the rest of the bathtub is in good condition. If the tub is clean, structurally sound, and has a finish you still like, repairing one damaged area keeps the project focused and affordable.
It is especially useful for chips caused by a dropped shower head, a bottle, a tool, or a hard object during cleaning. Small impact damage does not always mean the whole tub needs to be refinished or replaced.
Repair also makes sense before putting a home on the market, preparing a rental unit, or refreshing a bathroom without taking on a full remodel. A damaged tub can make an otherwise clean bathroom feel neglected. Removing that visible flaw can improve the entire room quickly.
However, chip repair is not the answer to every tub problem. If the finish is worn across large areas, peeling, badly stained, or covered in multiple old repairs, refinishing the entire bathtub may deliver a more uniform result. If the tub is cracked through its structure, flexes under weight, or has water damage behind it, a surface repair alone may not solve the underlying issue.
Before You Repair, Check the Rest of the Tub
Look closely at the area around the chip and at the tub as a whole. The condition of the surrounding surface helps determine whether a spot repair or full refinishing makes more sense.
Watch for these signs:
- Rust stains or dark marks that return after cleaning
- Peeling or flaking around the drain, overflow, or floor of the tub
- Multiple chips, hairline cracks, or areas that feel soft or flexible
- A dull, permanently stained finish across most of the tub
One small, clean chip is a repair job. Several issues spread across an old finish may call for a larger restoration plan. An honest assessment saves money because it avoids paying for a temporary patch when the tub needs more complete work.
Why DIY Repairs Often Look Different
Do-it-yourself repair kits can help in a pinch, but they have limits. The kits are usually made for broad compatibility, not an exact match to your tub’s color, sheen, and material. They may fill the chip, but blending it into the surrounding finish is harder than it looks.
The most common DIY problem is a patch that sits too high or too low. Another is a color mismatch that turns yellow, gray, or chalky next to the original surface. Poor adhesion can also cause the repair to chip again when the tub is cleaned or exposed to hot water.
DIY may be reasonable for a tiny cosmetic nick in a low-visibility area when you need a short-term solution. It is less appealing for a chip on the bottom of the tub, near the drain, or on a visible wall where daily water exposure and close inspection will reveal every flaw.
Professional repair costs more upfront than a store-bought kit, but it can prevent repeat repairs and protect the appearance of the tub. The value comes from surface preparation, material choice, color matching, and the skill to make a patch blend.
How to Protect the Repair Afterward
Once the repair has cured, simple care helps it last. Use non-abrasive bathroom cleaners and a soft sponge or cloth. Avoid scouring powder, harsh scrub pads, and abrasive brushes. Those products can dull the finish around the repair and make the repaired area more noticeable.
Do not use the tub until the technician’s recommended cure time has passed. It can be tempting to get the bathroom back in service right away, but early water exposure can affect a fresh repair.
Also, use a non-slip bath mat with caution. Mats with strong suction cups can pull on a refinished or repaired surface over time. If you need extra traction, ask which type of mat is safest for your tub finish.
For homes with hard water, wipe down the tub after use when possible. This limits mineral buildup and reduces the need for aggressive cleaning. A gentle routine keeps the tub looking better than a heavy scrub every few months.
The Difference Between a Repair and a Cover-Up
A proper bathtub chip repair is built to restore the surface, not simply hide damage for a few weeks. The repair should be smooth, secure, color blended, and appropriate for the condition of the whole tub.
That is why an in-person assessment is useful. A qualified refinishing professional can tell you whether the damage needs a spot repair, a full reglaze, or a different solution entirely. The Tub Guy backs qualifying refinishing work with a five-year warranty and stands behind the finished result.
If a chip is bothering you every time you walk into the bathroom, do not assume replacement is your only option. A clear assessment and a properly completed repair can turn one damaged spot into a tub that looks cared for again.