
Table of Contents
- What Is Professional Shower Tile Reglazing?
- The Shower Tile Reglazing Process Explained
- How Long Does Shower Reglazing Last?
- Shower Tile Refinishing Cost: What to Expect
- Tile Reglazing vs Replacement: Which Is Right for You?
- DIY vs. Professional Reglazing: Why Professional Matters
- Maintenance and Care for Reglazed Tiles
- Frequently Asked Questions
Last Updated: October 2, 2026
What Is Professional Shower Tile Reglazing?
Professional shower tile reglazing is a surface restoration process that applies a durable, factory-like finish to existing bathroom tiles without removing or replacing them. At The Tub Guy, we specialize in this cost-effective alternative to full tile replacement, transforming dingy, discolored, or worn tiles back to like-new condition in a single project.
The reglazing process involves multiple steps: thorough surface preparation, chemical cleaning, repair of chips and cracks, primer application, and a professional-grade epoxy coating that bonds chemically to the tile substrate.
This approach saves homeowners hundreds or thousands of dollars compared to tearing out and replacing tile. A full bathroom tile replacement can cost substantially more and takes weeks of disruption. Professional shower tile reglazing typically completes with minimal inconvenience to your household.
The durability of reglazed surfaces depends heavily on proper application and maintenance.
The Shower Tile Reglazing Process Explained
Professional shower tile reglazing follows a structured five-step process designed to ensure a durable, long-lasting finish. Each step builds on the previous one, and skipping or rushing any phase compromises the final result. This is why professional expertise matters.
Step 1: Surface Inspection and Preparation
Before any coating touches your tile, a thorough inspection identifies the condition of your substrate.
Surface preparation is where most DIY attempts fail. The tile must be completely cleaned of soap residue, hard water deposits, and any loose material. Any grout that’s crumbling gets removed and replaced.
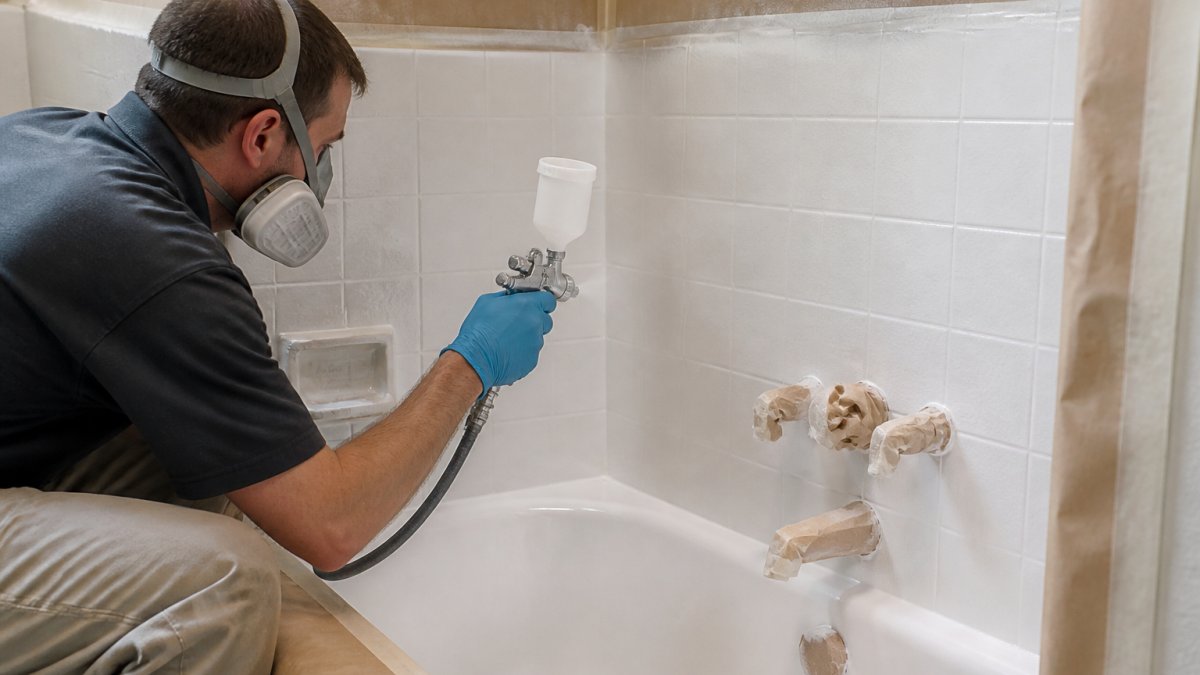
Once inspection is complete, the area is masked off and protected. Fixtures, hardware, and adjacent surfaces get covered to prevent overspray or accidental coating application.
Step 2: Cleaning and Acid Etching
Deep cleaning removes years of buildup. The tile gets scrubbed with specialized cleaners that cut through soap scum, mineral deposits, and discoloration without damaging the surface.
Acid etching follows. This chemical process opens the pores of the tile, creating a microscopic texture that allows the primer and epoxy coating to bond chemically rather than just sitting on the surface. Proper acid etching is critical, without it, the coating may peel or bubble within months.
Step 3: Repair of Chips and Cracks
Any chips, cracks, or gouges get filled with a specialized repair compound designed to match the tile color and accept the epoxy coating. Small cracks are sealed; deeper damage may require multiple applications to build up a smooth, level surface.
This step requires skill. If the repair material is applied unevenly or doesn’t cure properly, it will show through the final finish or fail prematurely.
Step 4: Primer Application and Epoxy Coating
Once the tile is clean, etched, and repaired, a primer coat is applied.
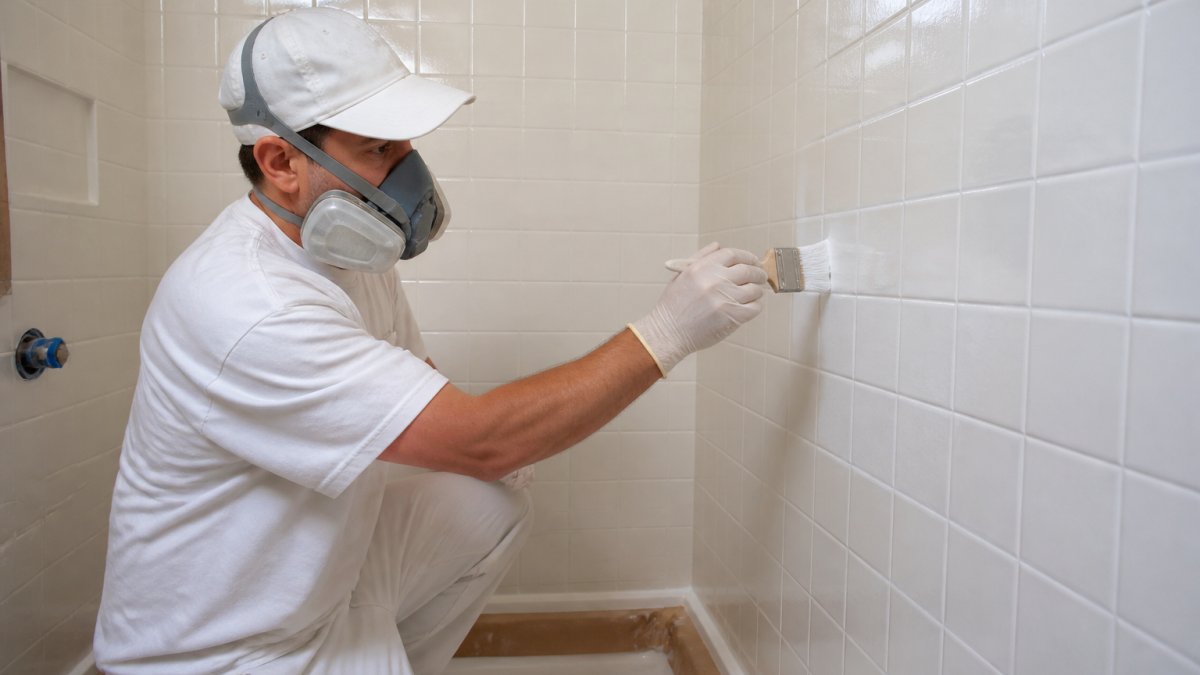
The epoxy coating is where the transformation happens.
Modern epoxy formulations are significantly superior to older, toxic methods. They cure faster, emit fewer fumes, and deliver superior durability and appearance.
Step 5: Curing and Final Inspection
After the epoxy is applied, the tile must cure fully. Curing time varies by product and environmental conditions but typically takes 24-48 hours before the surface can handle light use. Full hardness develops over several days.
During curing, the area must remain undisturbed and dry. No water contact, no foot traffic, no cleaning, just time for the chemical bonds to set. A final inspection confirms the finish is even, the color is consistent, and there are no defects.
How Long Does Shower Reglazing Last?
The lifespan of reglazed shower tile depends on the quality of the initial work and how well you maintain the surface afterward. Professional reglazing, when done correctly, typically lasts five to seven years or longer. The Tub Guy backs our work with a five-year warranty, giving you confidence in the durability of the finish.
Several factors influence longevity. Heavy use, multiple showers daily in a busy household, can shorten the lifespan compared to light to moderate use.
The quality of the epoxy coating and the skill of the professional who applies it make a substantial difference. Premium materials and careful application yield longer-lasting results.
With proper care, many homeowners find their reglazed tiles remain in excellent condition well beyond five years. The non-porous finish resists moisture and mold, which can give reglazed surfaces a practical lifespan advantage.
Shower Tile Refinishing Cost: What to Expect
Shower tile refinishing cost depends on several variables: the size of the area, the extent of damage requiring repair, the complexity of the tile configuration, and your geographic location. Rather than stating a specific price range, we recommend requesting a free estimate from The Tub Guy to understand your actual project cost.
What matters most is understanding the value proposition. Professional shower tile reglazing costs a fraction of full tile replacement.
Many homeowners are surprised to learn that reglazing a bathroom shower costs significantly less than they expected. The speed of completion also reduces indirect costs like having your bathroom out of service.
Get a detailed estimate that breaks down the scope of work. A transparent quote should account for surface preparation, repair work, coating application, and any special considerations your specific project requires.
Tile Reglazing vs Replacement: Which Is Right for You?
Tile reglazing and replacement are fundamentally different approaches, each with distinct advantages. The choice depends on your situation, budget, and timeline.
Reglazing works best when:
- Your tile substrate is structurally sound (not separating from walls or crumbling)
- You want to restore the appearance without major disruption
- You’re budget-conscious and want to avoid the cost of replacement
- You want results in one day rather than weeks of construction
- Your grout is still intact, or minor repairs are sufficient
Replacement makes more sense when:
- The substrate has failed (tile separating, water damage behind the tile)
- You want to change the tile size, style, or layout significantly
- The existing tile is beyond cosmetic repair
- You’re planning a major bathroom renovation anyway
- You want to upgrade to premium tile materials
Reglazing is a surface restoration. It refreshes the appearance and improves water resistance, but it doesn’t address structural problems.
For most homeowners with cosmetic concerns, discoloration, minor chips, or a dated appearance, professional shower tile reglazing delivers excellent value and a dramatically improved bathroom without the cost and inconvenience of replacement.
DIY vs. Professional Reglazing: Why Professional Matters
DIY tile reglazing kits are available at home improvement stores. They’re affordable and tempting.
The difference comes down to several factors:
Surface Preparation. Professionals have industrial-grade cleaning equipment and acid etching solutions. They understand how to achieve uniform surface texture. DIY kits typically include basic cleaners that don’t remove all residue or properly etch the tile.
Material Quality. Professional-grade epoxy coatings are formulated for durability and adhesion.
Application Technique. Applying epoxy evenly without drips, sags, or brush marks requires experience.
Curing Environment. Epoxy requires specific temperature and humidity conditions to cure properly. Professional work spaces are controlled.
Warranty. Professional work comes with a warranty. DIY results don’t. If something goes wrong, you’re responsible for correction.
Maintenance and Care for Reglazed Tiles
Proper maintenance extends the life of your reglazed shower tiles significantly. The finish is durable, but it’s not indestructible. A few simple practices keep your tiles looking new for years.
Daily Care:
- Squeegee the shower after each use to remove standing water
- Wipe down the tile surface with a soft cloth if water spots develop
- Ensure adequate ventilation to prevent moisture buildup
Weekly Cleaning:
- Use a soft-bristled brush or non-abrasive sponge with mild soap and water
- Avoid harsh chemical cleaners, bleach, or abrasive scrubbers, these damage the epoxy finish
- Rinse thoroughly and dry with a soft cloth
What to Avoid:
- Abrasive scouring pads or steel wool
- Acidic cleaners (vinegar, lemon juice) that can etch the surface
- Harsh chemical cleaners designed for heavy-duty bathroom cleaning
- High-pressure sprays that can force water behind the tile
Periodic Maintenance:
- Check caulking around fixtures and reseal if it cracks
- Address any water leaks promptly to prevent water damage
- If the finish shows wear after several years, professional recoating can restore it
The non-porous finish resists mold and mildew. Proper ventilation, using an exhaust fan during and after showers, prevents moisture accumulation that can compromise the seal around fixtures.
| Maintenance Task | Frequency | Impact |
|---|---|---|
| Squeegee after shower | Daily | Prevents water spots and mineral buildup |
| Soft cloth wipe-down | As needed | Keeps finish looking fresh |
| Mild soap and water cleaning | Weekly | Removes soap residue without damage |
| Ventilation during shower | Every use | Prevents moisture-related issues |
| Reseal caulking | As needed | Prevents water infiltration |
Professional shower tile reglazing transforms worn, discolored bathroom tile into a fresh, durable surface without the cost and disruption of replacement.
Frequently Asked Questions
How long does shower reglazing actually last?
Professional shower tile reglazing typically lasts 5 years or longer with proper maintenance. The durable epoxy coating bonds chemically to the surface, creating a non-porous finish that resists moisture and mold. Factors like water hardness, cleaning frequency, and bathroom humidity affect longevity. Avoid abrasive scrubbers and acidic cleaners to extend the life of your reglazed tiles.
What’s the difference between tile reglazing and replacement?
Tile reglazing restores your existing surface through surface preparation, chip repair, and epoxy coating application, preserving the substrate and costing significantly less. Replacement removes old tile and installs new material, requiring demolition, structural work, and higher labor costs. Reglazing delivers a factory-like finish; replacement takes weeks. For tiles with sound structure but poor appearance, reglazing offers the cost-effective alternative.
Is DIY reglazing better than hiring a professional?
Professional reglazing uses industrial-grade materials, proper acid etching, and controlled curing conditions that DIY kits cannot replicate. Home Depot-style kits often bubble, peel, or fail within months. Professionals manage chemical bonding, moisture barriers, and slip-resistant coatings correctly. The warranty backing professional work protects your investment; DIY failures leave you with damaged surfaces and no recourse.
Can deeply cracked or discolored shower tiles be fixed with reglazing?
Yes. Professional reglazing handles chip and crack repair through substrate bonding and epoxy filling before the final coating is applied. Discoloration is covered by the new glaze layer, which can be matched to your preferred color and finish. However, structural damage to the underlying tile or substrate may require targeted repair first. A professional inspection determines whether reglazing is viable or if replacement is necessary.