
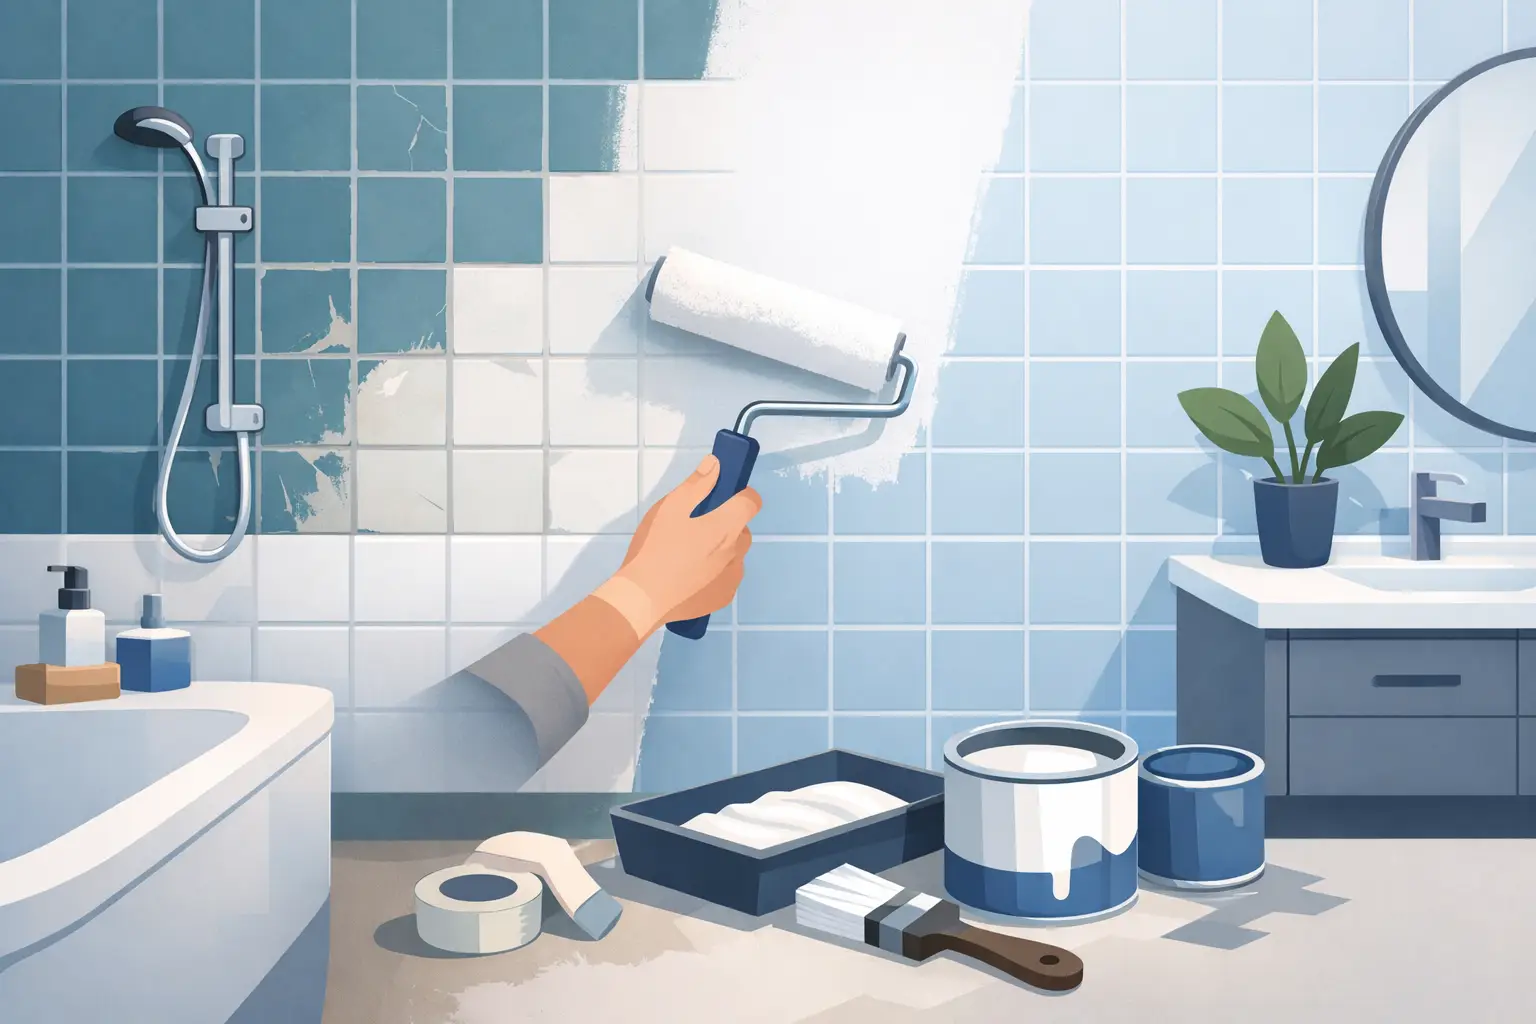
A bathroom can look worn out long before anything is truly broken. Yellowed tile, stained grout, dated colors, and chipped glaze can make the whole room feel dirty. Learning how to repaint bathroom tile can be a smart way to change that without tearing out walls, replacing fixtures, or living through a full remodel.
The key is using the right process. Bathroom tile takes daily moisture, soap residue, heat, and cleaning chemicals. A quick coat of regular paint may look good for a week or two. Then it starts to peel, scratch, or discolor. A lasting finish comes down to preparation, the right coating, and enough cure time.
Can You Repaint Bathroom Tile?
In many cases, yes. Ceramic and porcelain wall tile can be refinished when it is firmly attached, structurally sound, and free of major cracks. The coating covers the old color and gives the surface a cleaner, more uniform look.
Repainting works especially well for tile that is ugly but intact. Maybe it is avocado green, pink, beige, or simply dull from years of use. Refinishing can also help hide light staining and small cosmetic flaws.
It is not the right answer for every bathroom. Loose tile, water damage behind the wall, failing grout, deep cracks, or soft subflooring need repair first. Coating over a moisture problem does not solve it. It traps the problem and can shorten the life of the finish.
Floor tile also needs special consideration. Floors take foot traffic, dropped items, grit, and standing water. A coating that performs well on shower walls may not be rated for floors. Always use a system made for the exact surface you are refinishing.
How to Repaint Bathroom Tile the Right Way
A proper tile refinishing job is mostly prep work. The coating matters, but it cannot bond to soap scum, silicone, loose grout, or a slick, untreated glaze.
Start With a Close Inspection
Check every tile before you buy a coating or open a can. Press gently on suspicious areas. Tile should not move. Look closely at the grout lines, corners, and around plumbing fixtures.
Replace missing or loose tile first. Repair chips and cracks with a waterproof filler made for ceramic surfaces. If grout is crumbling, remove the weak material and repair it. Let all repairs fully dry before moving forward.
If there is mold, a persistent leak, or dark staining that returns after cleaning, stop and find the moisture source. In Florida bathrooms, humidity and shower moisture can expose small waterproofing problems fast.
Remove Dirt, Soap, and Silicone
This is where many DIY jobs fail. Tile can feel clean but still hold body oils, soap film, hard-water deposits, and residue from past cleaning products. Those contaminants interfere with adhesion.
Use a strong bathroom degreaser or cleaner made to remove soap scum. Scrub the tile, grout, corners, and edges thoroughly. Rinse well. Then clean again if the surface still feels slick or looks hazy.
Remove old silicone caulk from corners, tub edges, shower pans, and around fixtures before coating. Paint and refinishing materials do not stick well to silicone. New caulk goes on after the finish has cured.
Let the room dry completely. Water hiding in grout lines, corners, or wall gaps can create problems under the new coating.
Create a Surface the Coating Can Grip
Glossy tile is designed to repel water and stains. That is great for cleaning, but it makes coating adhesion more difficult. The surface usually needs to be dulled with the preparation method required by the product system.
Some products call for sanding with a fine abrasive. Others use a bonding primer or a chemical prep step. Follow the coating manufacturer’s instructions exactly. Do not assume that one method works for every paint or refinishing kit.
Protect the room before you start. Mask the tub, vanity, fixtures, mirrors, drains, and any areas that should not be coated. Cover floors and keep dust out of the work area. Overspray and fine coating dust are hard to remove once they settle.
Use a Coating Made for Bathroom Tile
Regular wall paint is not made for wet tile. It is likely to soften, peel, and collect stains. Use a quality tile refinishing system rated for bathroom surfaces. These systems often include a bonding primer and a durable topcoat designed to resist moisture and cleaning.
The application method depends on the product. Some coatings are rolled or brushed. Professional refinishing is commonly sprayed for a smoother, more even finish. Spraying can produce a factory-like appearance, but it also requires proper masking, ventilation, and experience.
Apply thin, even coats. Heavy coats can sag, trap solvents, or cure unevenly. Pay attention to grout lines, corners, and tile edges. Those areas are easy to miss and often show wear first.
For showers, do not use a coating unless it is specifically approved for constant water exposure. A shower wall is a much tougher environment than a dry bathroom backsplash.
Respect the Cure Time
Dry and cured are not the same thing. A tile surface may feel dry within hours, but the coating can still be soft underneath. Early use is one of the most common reasons a new finish gets scratched or damaged.
Keep the area dry and avoid cleaning until the full cure period has passed. Cure time varies by product, room temperature, humidity, and ventilation. High humidity can slow the process, so give the finish the time it needs.
Once cured, install fresh caulk around the tub, shower, and fixtures. Clean, flexible caulk helps keep water out of the gaps where tile and other surfaces meet.
Common Mistakes That Ruin Painted Tile
The biggest mistake is coating over a surface that is not truly clean. Soap scum, waxy cleaners, silicone, and moisture can all lead to peeling. Skipping repairs is another problem. A new finish will not make loose tile secure or cracked grout waterproof.
Using the wrong paint creates predictable trouble. Standard latex paint is fine for drywall, not glazed tile in a wet bathroom. So is rushing the job. If the prep, coating, or cure time gets cut short, the finish may fail long before it should.
Harsh cleaning habits can also shorten the life of refinished tile. Avoid abrasive powders, steel wool, stiff scrub pads, and aggressive chemical cleaners. Use a soft cloth or nonabrasive sponge with a mild bathroom cleaner instead.
DIY Tile Painting or Professional Refinishing?
A DIY project can make sense for a small, dry tile area where expectations are realistic. A backsplash, powder room wall, or lightly used bathroom may be manageable if you are patient with preparation and comfortable following product instructions.
A shower surround, heavily used bathroom, or tile connected to a tub is a different job. These surfaces need a coating that can handle regular moisture and cleaning. The work also requires careful masking and ventilation, especially when professional-grade coatings are involved.
Professional refinishing costs more than a basic kit, but it can save money compared with demolition and replacement. It also avoids the mess of pulling out tile, repairing walls, and installing new materials. A skilled refinisher can correct chips, change the color, and create a more consistent finish across the bathroom.
For homeowners who want the result to last, warranty coverage matters too. The Tub Guy stands behind qualified refinishing work with a five-year warranty, so you are not left guessing what happens if an issue appears after the job is complete.
How to Keep Repainted Bathroom Tile Looking Good
Once the finish is cured, maintenance is simple. Wipe down shower walls after use when possible. Keep the room ventilated to reduce moisture buildup. Repair damaged caulk promptly so water does not work its way behind the surface.
Use mild cleaners and soft tools. Do not hang heavy items from refinished tile with aggressive adhesives. If you see a chip or scratch, address it early instead of letting water reach the exposed area.
A worn bathroom does not always need a demolition crew. When the tile is solid and the problem is mostly appearance, proper refinishing can give the room a clean, updated look without turning your home upside down. The best next step is an honest inspection of the tile, the moisture conditions, and how much daily use the surface needs to handle.