
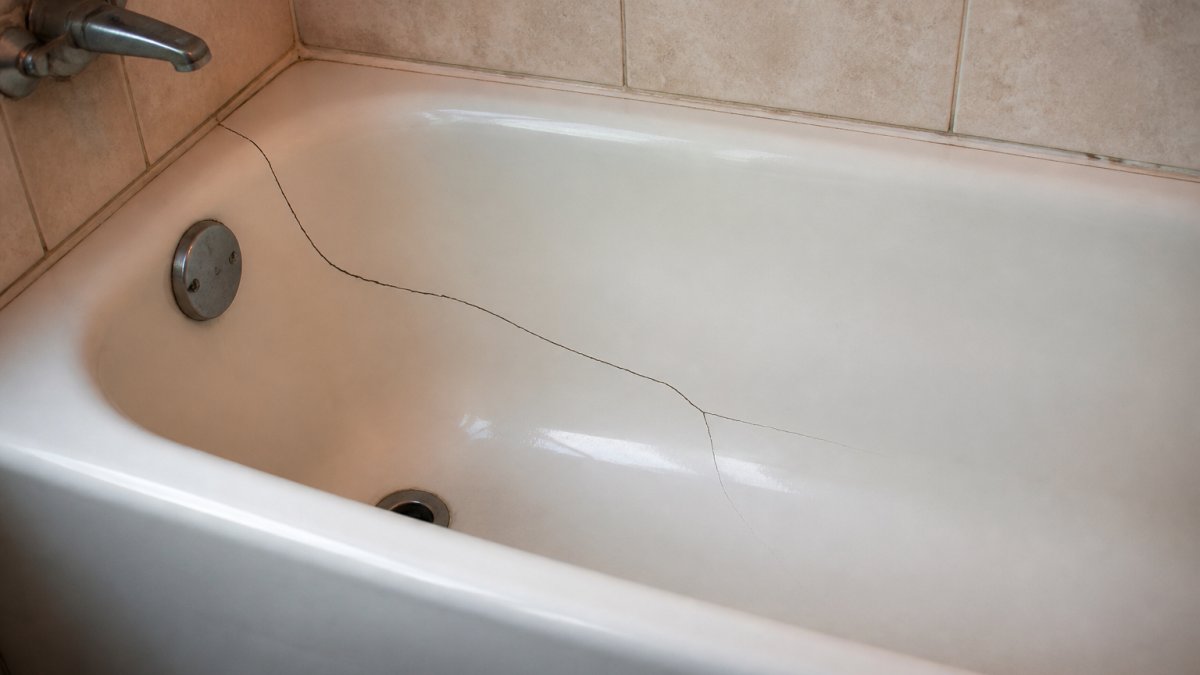
Table of Contents
- Step 1: Identify Your Bathtub Material and Crack Type
- Step 2: Gather Tools and Prepare the Surface
- Step 3: Apply Epoxy or a Bathtub Crack Repair Kit
- Step 4: Sand, Smooth, and Color Match the Repair
- Step 5: Cure Time, Temperature, and Durability Testing
- Understanding Fiberglass Bathtub Crack Repair Cost
- When to Choose Professional Bathtub Refinishing
- Frequently Asked Questions
Last Updated: September 27, 2026
Step 1: Identify Your Bathtub Material and Crack Type
Bathtub cracks usually mean one of two things: a surface problem you can patch, or a structural failure that needs a pro. Knowing which one you’re facing is the first step in how to fix deep bathtub cracks without wasting money on a repair that won’t hold.
Start by identifying the material. Press a fingernail into an inconspicuous spot near the drain.
- Fiberglass: flexes slightly, sounds hollow when tapped
- Porcelain enamel: hard, cold, and glassy over a metal base
- Cultured marble: solid, stone-like feel with a gel coat finish
- Acrylic: similar to fiberglass but thicker and warmer to the touch
Next, judge the crack itself.
If the tub flexes under your weight near the crack, stop. A flexible floor under the crack means the damage runs deeper than the surface, and epoxy will crack again within months.
Step 2: Gather Tools and Prepare the Surface
Surface preparation decides whether your repair lasts a year or a week. Skip it, and even the best epoxy resin will peel.
- Epoxy resin and curing agent (two-part mix)
- Fiberglass matting for cracks wider than a credit card
- Sandpaper in 80, 220, and 400 grit
- Rubbing alcohol or a mild chemical solvent
- A plastic spreader, mixing cup, and gloves
- Waterproof sealant for the final coat
Step 3: Apply Epoxy or a Bathtub Crack Repair Kit
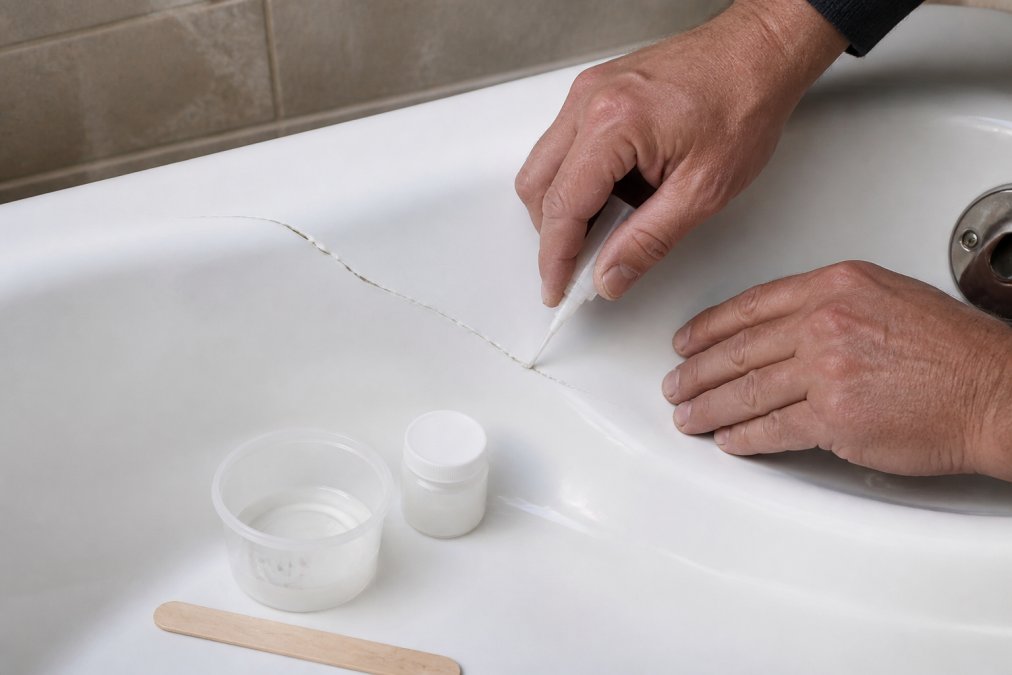
Work in thin layers rather than one thick pour. A thick blob traps air bubbles and cures unevenly, which shows up as a soft spot weeks later.
Step 4: Sand, Smooth, and Color Match the Repair
Once the patch is hard, it’s time to blend it into the tub. This step separates a repair you notice from one you don’t.
- Buy a tub repair kit that includes a color match pigment
- Test the color on a scrap of cardboard first
- Apply in thin coats until it blends
- Finish with polishing compound to restore the gloss
Step 5: Cure Time, Temperature, and Durability Testing
Curing time depends on the product and the room. Most epoxy needs 24 hours before light use, and 48 to 72 hours before full use, but the label rules. What most guides skip is what happens after, because a repair that passes the first-day test can still fail six months in.
Temperature and humidity control the cure
Epoxy cures best between 65°F and 75°F. Cold slows the chemical reaction and can leave a tacky, under-cured patch; heat speeds it up and can trap bubbles. Humidity matters too, a steamy bathroom slows the cure and can leave a blush on the surface. Run the exhaust fan, and if the room is cold, give the patch extra time rather than guessing.
Short-term test: does it hold?
Before you fill the tub:
- Press firmly on the patch. It should feel rock hard, not rubbery.
- Run water and check for leaks at the crack.
- Look for lifting edges after the first day.
A proper cured state means the epoxy has bonded fully to the substrate. If the patch flexes at all, it hasn’t cured or it didn’t bond.
Long-term durability: the test nobody talks about
The real test of a deep crack repair is how it survives 12 to 24 months of daily hot water, soap, and cleaning products. Three failure modes show up over time:
- Thermal cycling. Hot water expands the tub shell, cold water contracts it. A patch that bonded to the surface but not into the crack will work loose at the edges. This is why widening the crack into a tapered edge during prep matters, it gives the resin a mechanical grip that survives expansion and contraction.
- Water intrusion. If the patch didn’t seal the full depth of the crack, water seeps behind it. You’ll see a dark line or a soft spot at the edge. By the time it’s visible, the substrate underneath is usually wet.
- Color drift. A patch that matched on day one can yellow or dull faster than the surrounding tub, especially with abrasive cleaners. A gel coat topcoat resists this better than bare epoxy.
How to check your repair over time
- Month 1: press the edges. Any flex means the bond is failing.
- Month 6: look for a dark outline around the patch, that’s water tracking behind it.
- Month 12: check color match under daylight, not bathroom lighting.
If the patch fails any of these, the crack was likely structural, not cosmetic. That’s the point where a professional refinishing job beats a second kit, the surface needs to be sealed as a whole, not patched again.
Long-term durability comes down to four things: a clean, roughed-up surface, thin layered coats, full cure time, and a repair that addresses the full depth of the crack. Rush any one of them and you’ll be redoing the repair, usually within a year.
| Repair Factor | What to Do | Why It Matters |
|---|---|---|
| Surface prep | Sand and clean with alcohol | Creates an adhesive bond |
| Application | Thin, layered coats | Prevents bubbles and dips |
| Cure time | 24-72 hours | Full bonding to substrate |
| Temperature | 65°F to 75°F | Even, complete curing |
| Long-term check | Inspect at 1, 6, and 12 months | Catches bond failure before it spreads |
Understanding Fiberglass Bathtub Crack Repair Cost
Fiberglass bathtub crack repair cost swings widely, and the biggest driver isn’t the crack, it’s who does the work and whether the damage is cosmetic or structural. Understanding the cost structure helps you decide whether a DIY kit is a real fix or a stall tactic.
What drives the price
- Crack type and size. A hairline surface crack is a one-part job. A deep crack that reaches the drain, overflow, or a seam requires fiberglass matting, layered resin, and often a gel coat topcoat, more material and more labor hours.
- Tub material. Fiberglass and acrylic are the most forgiving to repair. Porcelain enamel and cultured marble are harder because the finish has depth, and a patch that doesn’t match the gloss is visible from across the room.
- Access. A crack on the tub floor is easy to reach. A crack behind a tile flange or under a faucet set adds disassembly time.
- Finish scope. Patching one crack is cheaper than refinishing the whole tub. If the surface around the crack is worn, a spot repair will look like a scar, and refinishing becomes the better value.
DIY vs. professional: the real trade-off
A DIY repair kit is the lowest-cost path, and for a hairline crack in fiberglass or acrylic it can hold for years if you prep and cure it correctly. The catch is that kits are a short-term fix on structural damage. If the tub flexes under your weight near the crack, a kit will fail, usually within months, and often at the worst time.
A simple decision rule
- Cosmetic hairline crack, no flex, no leak: DIY kit is reasonable.
- Deep crack, flex, or leak at drain/overflow/seam: get a professional quote.
- Multiple units or a rental: professional repair or refinishing, because downtime and callbacks cost more than the repair.
Pricing depends on the crack, the material, and the job, so call for a quote rather than guessing from a website. Ask any pro two questions: what’s the warranty, and what happens if the crack returns? A shop that stands behind its work will answer both without hedging.
Before you buy a kit, press near the crack with your thumb. If the surface gives, you’re looking at a structural repair, not a cosmetic one, and no kit price is low enough to make that a good deal.
When to Choose Professional Bathtub Refinishing
Some cracks aren’t worth patching. If the damage is structural, or the tub is old and worn, professional bathtub refinishing beats a patch kit every time.
Choose a pro when:
- The crack keeps coming back after repairs
- The tub flexes or feels soft underfoot
- Damage reaches the drain, overflow, or a seam
- You want a color change at the same time
- You’re managing multiple units and need it done right
Frequently Asked Questions
How to fix a big crack in the bathtub?
For a large crack, start by cleaning the area with rubbing alcohol and sanding the edges with 80-grit sandpaper to create a tapered edge. Apply an epoxy filler compound designed for bathtub cracks, then embed fiberglass matting for structural support if the crack is deep. Once cured, sand smooth and apply a waterproof sealant. If the crack is longer than a few inches or affects structural integrity, call a professional.
Does Flex Seal work on a cracked bathtub?
Flex Seal is a temporary fix for hairline cracks but not recommended for deep bathtub cracks. It lacks the structural strength of epoxy or fiberglass and may peel under water pressure. For a lasting repair, use a bathtub crack repair kit with epoxy resin and fiberglass matting. These kits create a waterproof, durable bond that withstands daily use.
What is the best bathtub crack repair kit?
The best kit depends on your tub material. For fiberglass or acrylic, look for a kit with epoxy resin, fiberglass matting, and a curing agent. For porcelain enamel, choose an epoxy putty or porcelain repair compound. Avoid generic kits that don’t specify material compatibility. A quality kit includes sandpaper, applicators, and color-matching options for a flush finish.
When should you call a professional for bathtub crack repair?
Call a professional if the crack is longer than 6 inches, penetrates through the tub’s substrate, or keeps returning after DIY repairs. Also, if the crack is near the drain or overflow, structural integrity may be compromised. Professional bathtub refinishing can restore the entire surface and provide a warranty, often for less than replacement.
A deep crack isn’t always a replacement sentence, but it isn’t always a patch job either. The right fix depends on the material, the crack, and how long you want it to hold. The Tub Guy offers professional refinishing and reglazing for bathtubs, sinks, tile, and showers, with a 5-year warranty, modern materials, and a color-change option to match your vision. Request a free estimate from The Tub Guy and get a lasting repair instead of another temporary patch.