A stained shower can make the entire bathroom feel old, even when the rest of the room is clean. Cracks, worn fiberglass, faded color, and stubborn discoloration are frustrating. A full replacement can solve the problem, but it also brings demolition, plumbing risks, dust, and a much bigger bill. This guide to shower resurfacing process explains how professional refinishing restores the surface without tearing out the shower.
For many Florida homeowners, resurfacing is the practical middle ground. The existing shower stays in place. The damaged surface is repaired, coated, and cured into a clean, updated finish. Done correctly, it can dramatically change the look of the bathroom in far less time than a remodel.
What Shower Resurfacing Actually Does
Shower resurfacing, also called refinishing or reglazing, is a professional restoration process for worn shower surfaces. It is commonly used on fiberglass, acrylic, porcelain, cultured marble, and some tile installations. The goal is not to cover dirt with paint. The goal is to create a properly bonded new finish over a prepared, repaired surface.
A professional coating can refresh an outdated color, hide permanent stains, improve the appearance of worn areas, and repair minor chips or cracks. It is especially useful when the shower base and walls are structurally sound but look tired.
Resurfacing does have limits. It will not fix major water damage behind the wall, a soft shower pan, loose tile, active mold problems, or serious plumbing leaks. Those problems need to be corrected first. A good contractor should inspect the shower and tell you plainly whether refinishing is the right fit.
The Guide to Shower Resurfacing Process, Step by Step
The quality of a shower refinish is decided long before the final coat is applied. Prep work, repairs, ventilation, and curing all matter. Skipping steps may make a shower look good for a short time, but it will not hold up the way it should.
1. Inspection and color planning
The process starts with an inspection. The technician checks the shower surface for chips, cracks, rust stains, failed caulk, soap buildup, and signs of moisture issues. They also look at the condition of grout and tile if the shower includes tile walls.
This is the time to discuss color. White remains a popular choice because it makes a bathroom look brighter and cleaner. But resurfacing also gives homeowners the chance to update an old beige, pink, blue, or almond shower. Color changes are possible, although certain surfaces and existing damage may affect the recommended approach.
2. Deep cleaning and surface preparation
A shower collects years of body oils, soap residue, hard-water minerals, and cleaning-product film. Any of that contamination can interfere with adhesion. The surface must be thoroughly cleaned before repairs or coatings begin.
Next, the technician removes loose caulk and addresses areas that need repair. The shower is then mechanically prepared. Depending on the material, this can involve sanding, abrasion, or specialized surface treatment. The purpose is to create the right profile for the new coating to grip.
This step is not glamorous, but it is one of the biggest reasons professional work lasts longer than a quick DIY coating kit.
3. Repairs to chips, cracks, and worn spots
Small cracks, chips, holes, and worn patches are repaired before refinishing. A technician uses the appropriate filler or repair material, then levels and sands the repaired area so it blends with the surrounding surface.
Not every crack is cosmetic. A crack that keeps moving or returns after repair may point to a structural issue beneath the shower. In that case, coating over it is not a lasting fix. The honest answer may be repair or replacement instead of resurfacing.
4. Masking and ventilation
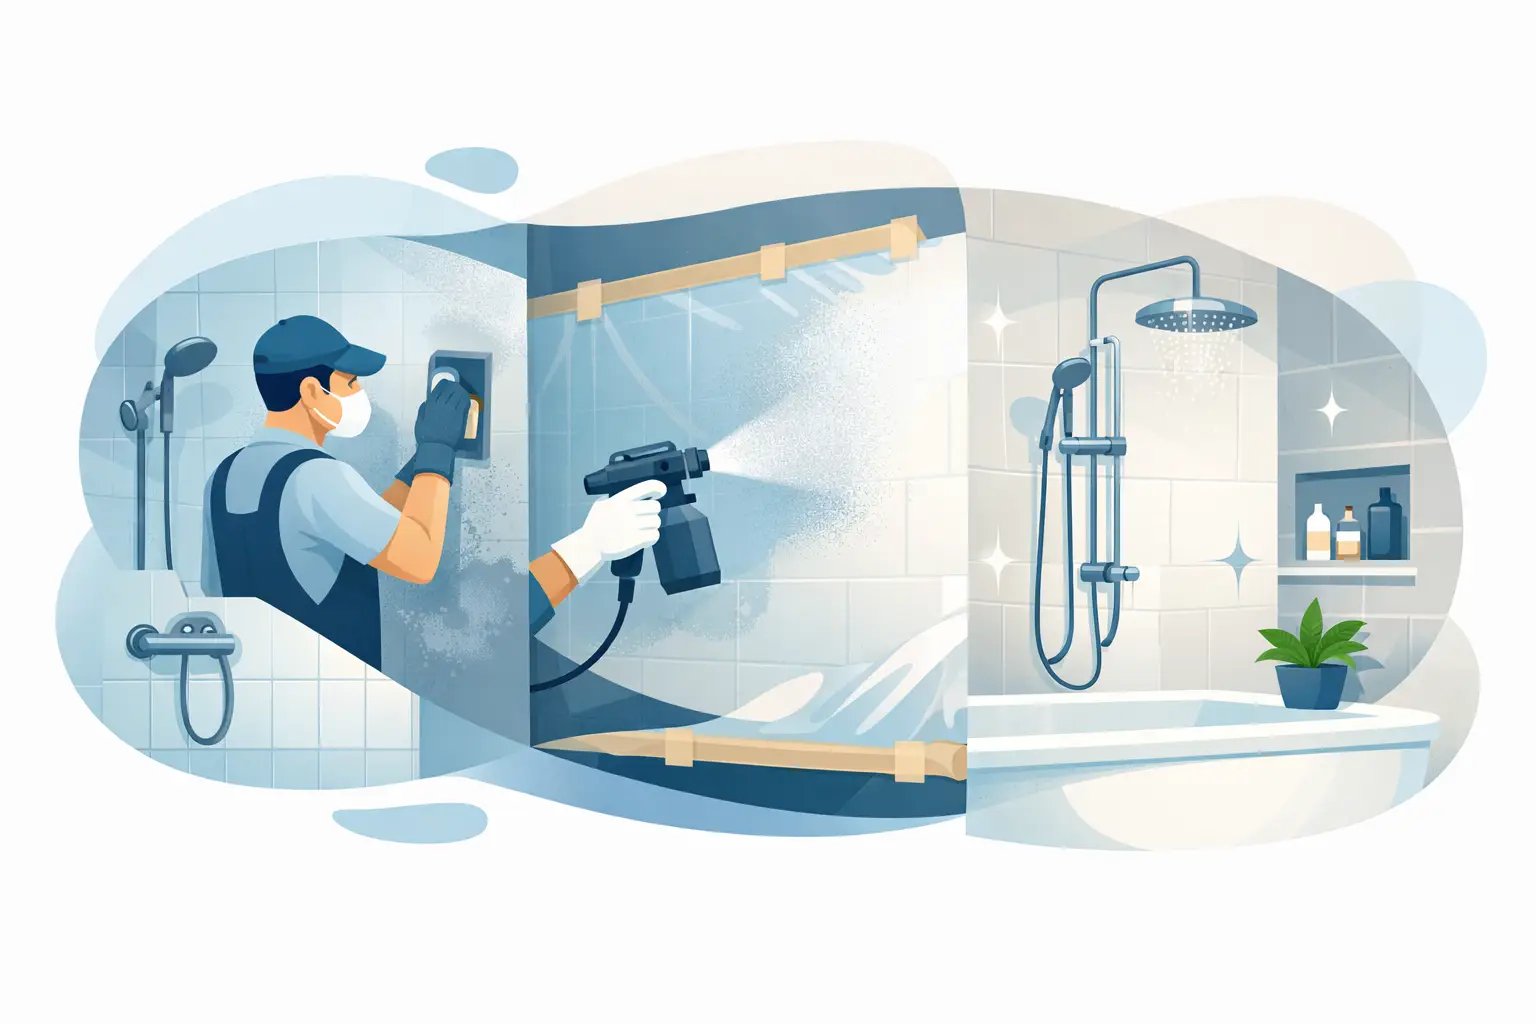
Professional resurfacing requires careful masking. Floors, walls, fixtures, drains, doors, and nearby surfaces are protected from overspray. This takes time, especially in a tight bathroom, but it protects the rest of your home and helps create clean edges.
Ventilation is also essential. Professional coatings and primers are not the same as standard wall paint. A qualified technician uses proper equipment and controlled airflow to manage fumes and help the material apply correctly. Keep children, pets, and other household members out of the work area while the job is underway.
5. Primer and finish coating application
Once the shower is clean, dry, repaired, and masked, the technician applies the bonding system and finish coatings. These products are designed for high-moisture bathroom surfaces. The coating is applied in controlled layers to build a smooth, even finish.
Spray application helps create the uniform look homeowners expect from a restored shower. The technician watches for coverage, consistency, and defects as the work progresses. This is where experience shows. The goal is a finish that looks refreshed, not thick, rough, or uneven.
6. Curing before use
The shower may look finished when the technician leaves, but it still needs time to cure. This is one of the most important parts of the process. Using the shower too early can damage the new finish before it reaches its intended hardness.
Your contractor should give you clear instructions on when the shower can be used again. Cure time varies based on the coating system, temperature, humidity, and ventilation. Florida humidity can affect conditions, so follow the specific timeline you are given rather than guessing.
How Long Does Shower Resurfacing Take?
Most shower resurfacing projects are completed much faster than replacement. The on-site work is often done in a day, although repairs, unusual layouts, or extensive tile work can add time. The bigger factor is the cure period before the shower is ready for water.
A replacement project may involve removing walls or a shower enclosure, hauling debris, addressing hidden damage, installing new materials, and coordinating plumbing work. Resurfacing avoids much of that disruption when the existing shower is still solid.
That does not mean resurfacing is always the right call. If you already plan to change the shower layout, replace plumbing, install a curb-free entry, or correct widespread water damage, replacement may make more sense. But for a sound shower with a worn finish, refinishing can be a smart value.
What Affects the Cost of Resurfacing a Shower?
The cost depends on the shower material, size, condition, access, and the amount of repair needed. A simple fiberglass shower in good shape is different from a large tiled shower with damaged grout, old caulk, and several cracks.
Color changes, heavy staining, rust repair, and difficult masking can also affect the price. The right comparison is not just resurfacing versus the price of a new shower unit. Include demolition, disposal, tile or wall repair, plumbing changes, labor, and the time your bathroom may be out of service.
A free in-home estimate gives you a clearer answer than a one-size-fits-all number. It also lets the contractor assess whether the surface is a good candidate for restoration.
How to Care for a Resurfaced Shower
A resurfaced shower is durable, but it needs reasonable care. Use a soft cloth or non-abrasive sponge with a mild cleaner. Rinse away soap residue and avoid leaving bottles, mats, or wet items in one spot for long periods.
Avoid abrasive powders, harsh scouring pads, and strong chemical cleaners unless your refinishing professional specifically approves them. Do not use suction-cup mats or accessories on the finished surface. They can pull on the coating and cause damage over time.
Keep an eye on caulk and grout around the shower. Caulk is there to keep water out of the joints. If it begins to split, shrink, or peel, have it addressed before water reaches areas it should not.
Why Professional Work Matters
A shower is exposed to water, heat, cleaners, and daily use. That is why prep and materials matter more than a quick visual fix. A low-cost kit can be tempting, but many homeowners find that brush marks, peeling, poor adhesion, and short life turn the job into a bigger headache.
Professional refinishing gives you a better chance at a smooth appearance and a finish built for bathroom use. At The Tub Guy, the work is backed by a five-year warranty, with a commitment to return and make things right if an issue comes up.
If your shower is structurally sound but looks beyond saving, do not assume demolition is your only option. A professional inspection can show whether resurfacing can give your bathroom the clean, updated result you want without the cost and disruption of a full remodel.