A bathroom sink can make the whole room look tired fast. One rust stain, a few chips, or a yellowed finish is enough to make the space feel older than it is. If you are wondering how to refinish bathroom sink surfaces without tearing out the vanity or starting a full remodel, the short answer is this: it can be done, but the prep and coating work have to be right.
That is where most sink refinishing jobs succeed or fail. The final shine gets the attention. The surface prep is what makes it last.
When sink refinishing makes sense
Refinishing is a smart option when the sink is structurally sound but looks worn. That includes scratches, dull spots, light staining, minor chips, discoloration, and outdated color. If the sink still works and the damage is mostly on the surface, refinishing usually costs far less than replacement and avoids the mess that comes with removing plumbing, countertops, or surrounding tile.
This matters even more in bathrooms where the sink is tied into a larger setup. Some sinks are integrated into the vanity top. Others sit against old tile or custom counters that can crack or shift during removal. In those cases, refinishing is often the cleaner and safer move.
Still, not every sink should be refinished. If the fixture has severe structural cracks, active leaks around the drain body, or major movement in the mounting, refinishing will not fix the root problem. The coating can improve the look of the surface. It cannot solve a failing sink.
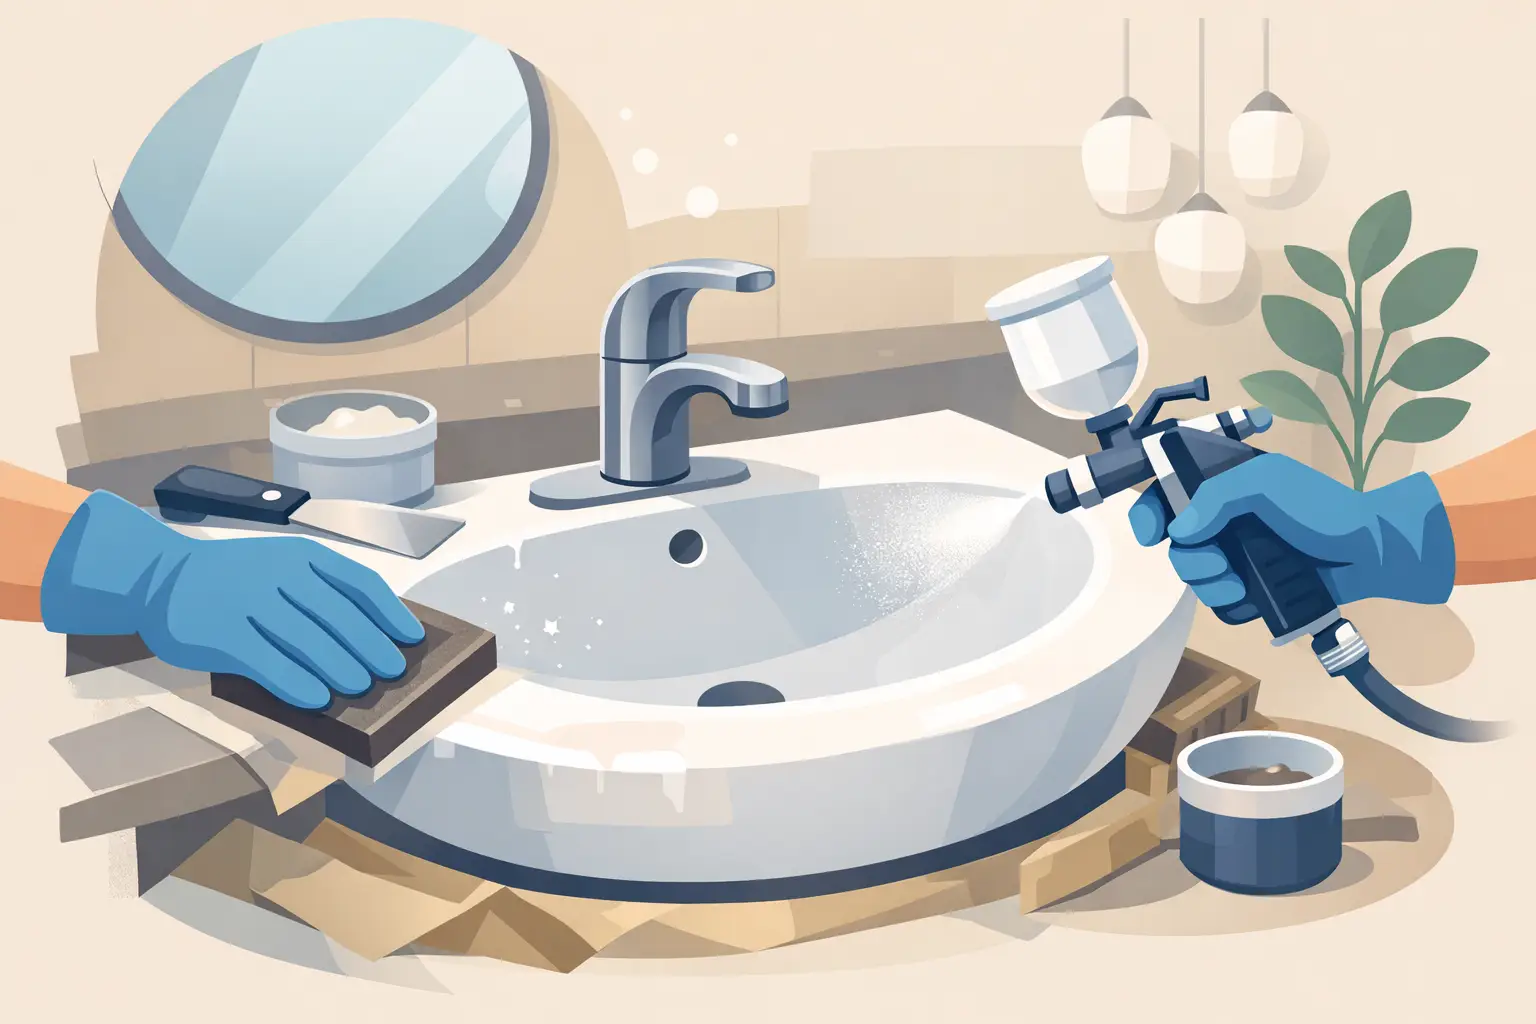
How to refinish bathroom sink surfaces step by step
If you want to understand the process, it helps to break it down into the actual work involved. A professional job is not just paint over old porcelain. It is a surface restoration process.
1. Cleaning comes first
Every trace of soap film, body oils, hard water buildup, and residue has to come off. Bathrooms in Florida often deal with mineral deposits, humidity, and years of cleaning product buildup. If contaminants stay on the sink, the new coating will not bond the way it should.
This step usually involves industrial cleaners and targeted scrubbing. In some cases, calcium deposits or rust stains need extra treatment before the sink is ready for the next stage.
2. Repairs are made before coating
Small chips, pitting, and surface damage are repaired after cleaning. This is where the sink starts to get its shape back. If chips are not filled properly, they will show through the final finish. If rough areas are not smoothed out, the topcoat will highlight them instead of hiding them.
Good repair work takes patience. A rushed patch job might look decent for a week. It will not hold up the same way over time.
3. The surface is etched or sanded for adhesion
This is one of the most important parts of the process. The old surface has to be opened up so the new coating can grip it. Depending on the sink material, that may involve acid etching, sanding, or both.
Skip this, and you are asking for peeling. Do it poorly, and the finish may look uneven or wear down too soon. The goal is not just to rough up the sink. The goal is to create the right profile for a strong bond.
4. Masking and containment protect the bathroom
A sink does not sit by itself in empty space. There is usually a vanity, faucet, mirror, wall, or countertop close by. Proper masking matters. Overspray, dust, and coating drift can turn a small project into a cleanup problem fast.
This is also where ventilation becomes a real issue. Refinishing products are not the same as standard household paint. They need careful handling, the right safety gear, and controlled conditions.
5. Primer and topcoat are applied
Once the sink is prepped, repaired, and masked, the refinishing coating is applied. On a professional job, this is usually a system made for durability, moisture resistance, and daily bathroom use. The coating needs to lay down smooth, cure properly, and bond evenly across the full surface.
This is where experience shows. A sink has curves, drain contours, overflow openings, and tight edges. It is easy to get runs, thin spots, dry spray, or texture issues if the application is off.
6. Cure time matters
A finished sink is not ready for hard use the second it looks dry. The coating needs time to cure. That cure window depends on the product, humidity, and room conditions. Using the sink too early can leave marks, dull spots, or permanent damage in the new finish.
A lot of homeowners get tripped up here. They see a glossy surface and assume the job is done. The coating may still be hardening underneath.
DIY sink refinishing vs professional refinishing
This is the part most homeowners really want to know. Can you do it yourself? Sometimes. Should you? That depends on your expectations.
A DIY kit can be tempting because the upfront cost is lower. If the sink is in a guest bath and you just want a short-term cosmetic improvement, a kit may give you a result you can live with. But most DIY products do not perform like professional-grade coatings, and most homeowners do not have the tools or ventilation setup to apply them cleanly.
The biggest problems with DIY sink refinishing are peeling, brush marks, poor adhesion around the drain, and a finish that starts wearing out far sooner than expected. Bathrooms are high-moisture spaces. Sinks get daily use. Toothpaste, soap, handwashing, and standing water all test the coating.
Professional refinishing costs more than a kit, but it usually saves money compared to replacement and gives a much better finished result. You also avoid the trial-and-error stage that comes with doing it the first time yourself.
For homeowners who care about durability, color consistency, and a like-new look, professional refinishing is usually the better value.
What kind of sinks can be refinished?
Many common bathroom sinks can be refinished, including porcelain, cultured marble, ceramic, and some fiberglass or composite surfaces. The condition of the sink matters more than the exact material in many cases.
That said, each material behaves a little differently. Porcelain over cast iron or steel often needs a specific prep approach. Cultured marble can require different repair and coating methods. A refinishing company should know the difference before they start.
This is also why a quick phone quote only tells part of the story. A sink with minor wear is one kind of job. A sink with heavy etching, multiple chips, and past failed coatings is another.
How long does a refinished bathroom sink last?
That depends on prep quality, coating quality, and how the sink is treated after the job. A professionally refinished sink can last for years when it is done right and maintained correctly.
The weak point is almost never the idea of refinishing itself. It is poor workmanship, bad products, or rough care after the fact. Abrasive cleaners, suction-cup accessories, standing chemicals, and hard impact can all shorten the life of the new surface.
A reputable refinisher should also stand behind the work. That matters. If a company is confident in its process, it should be willing to warranty it.
Common mistakes that ruin a sink refinishing job
Most failures come from a few predictable problems. The sink was not fully cleaned. The old surface was not prepped enough. Moisture got trapped. The coating was applied too thick or too thin. Or the sink was put back into service before it cured.
There is also the issue of using the wrong product for the job. Not every coating sold for bathrooms is meant for a sink basin that sees constant water exposure. A surface can look good on day one and still fail early if the product is not built for that use.
That is one reason homeowners in Pinellas County often call for help after trying a kit first. By then, the job is harder because the failed coating has to be stripped or corrected before the sink can be refinished properly.
Is refinishing worth it compared to replacing the sink?
In many cases, yes. Replacement sounds simple until it starts affecting other parts of the bathroom. Plumbing connections may need adjustment. Countertops can get damaged. Vanity tops may have to be replaced to match the sink opening. Labor adds up fast.
Refinishing keeps the project focused. You improve the appearance of the sink without turning a small cosmetic issue into a bigger renovation. That is especially appealing if the rest of the bathroom is still in decent shape.
For homeowners who want a clean, updated look without weeks of disruption, refinishing often hits the sweet spot between cost, speed, and results.
Choosing the right company for sink refinishing
If you hire this out, ask simple questions. How do they prep the surface? What coatings do they use? How long before the sink can be used? Do they offer a warranty? Have they done your type of sink before?
Clear answers matter. So does accountability. A company like The Tub Guy should be able to explain the process in plain language, set realistic expectations, and stand behind the finished work.
A worn sink does not always need to be ripped out. Sometimes it just needs the right hands on it. If you want a bathroom that looks cleaner, newer, and more cared for without the cost of replacement, refinishing is often the practical fix.